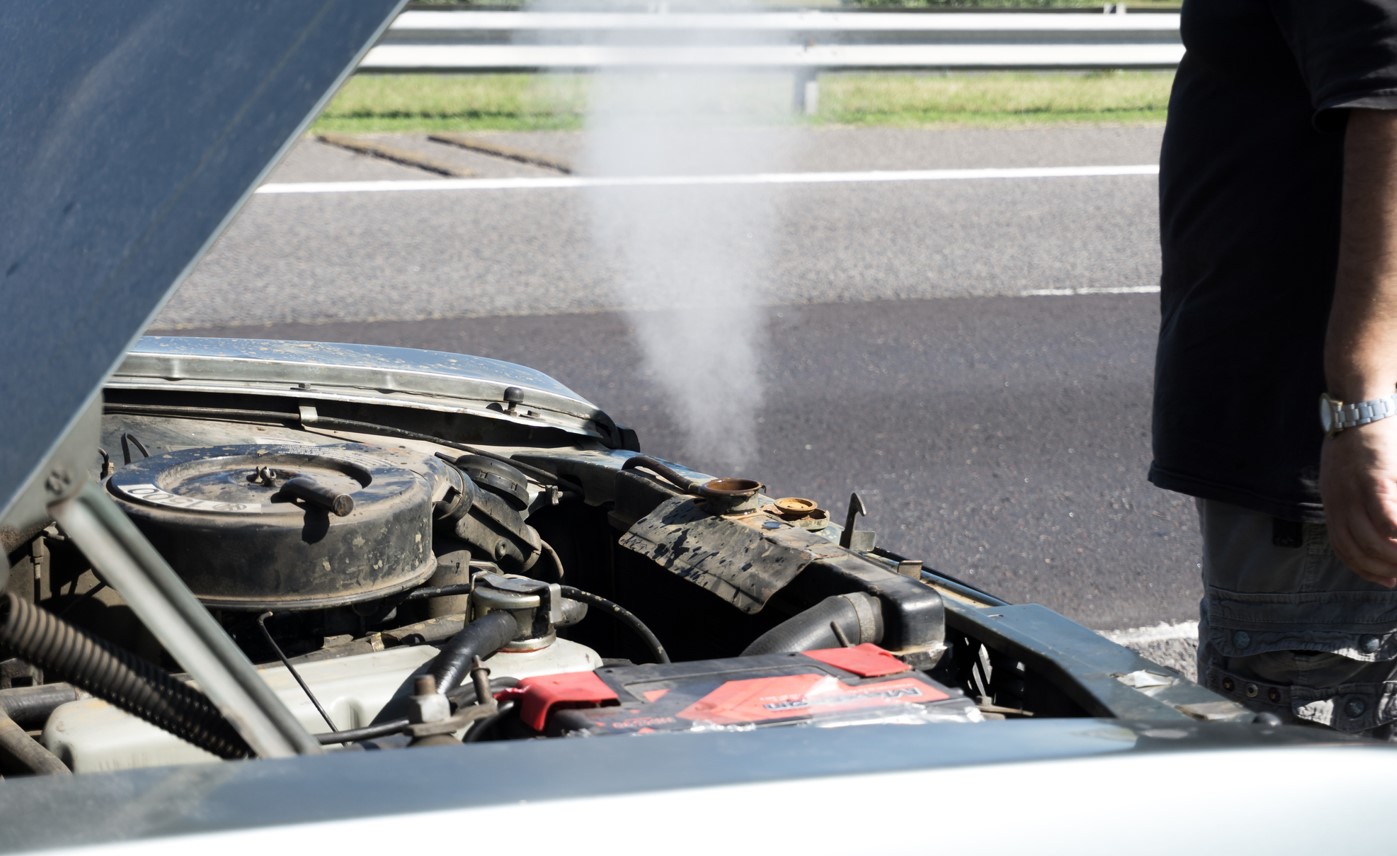


Cosmetic neglect turns any spirited machine into a forgotten relic. A car needs regular care to perform at its best; neglect leaves it looking flat and tired. Anyone who’s pulled into a gas station on a long haul knows the sting of seeing their once-proud cruiser look like it just survived a dust storm. This isn’t about chasing perfection—it’s about recapturing the visceral connection with your vehicle. Below are proven detailing essentials that deliver genuine results, transforming a weathered workhorse into a weekend warrior ready for the next adventure.
1. Clay Bar Decontamination
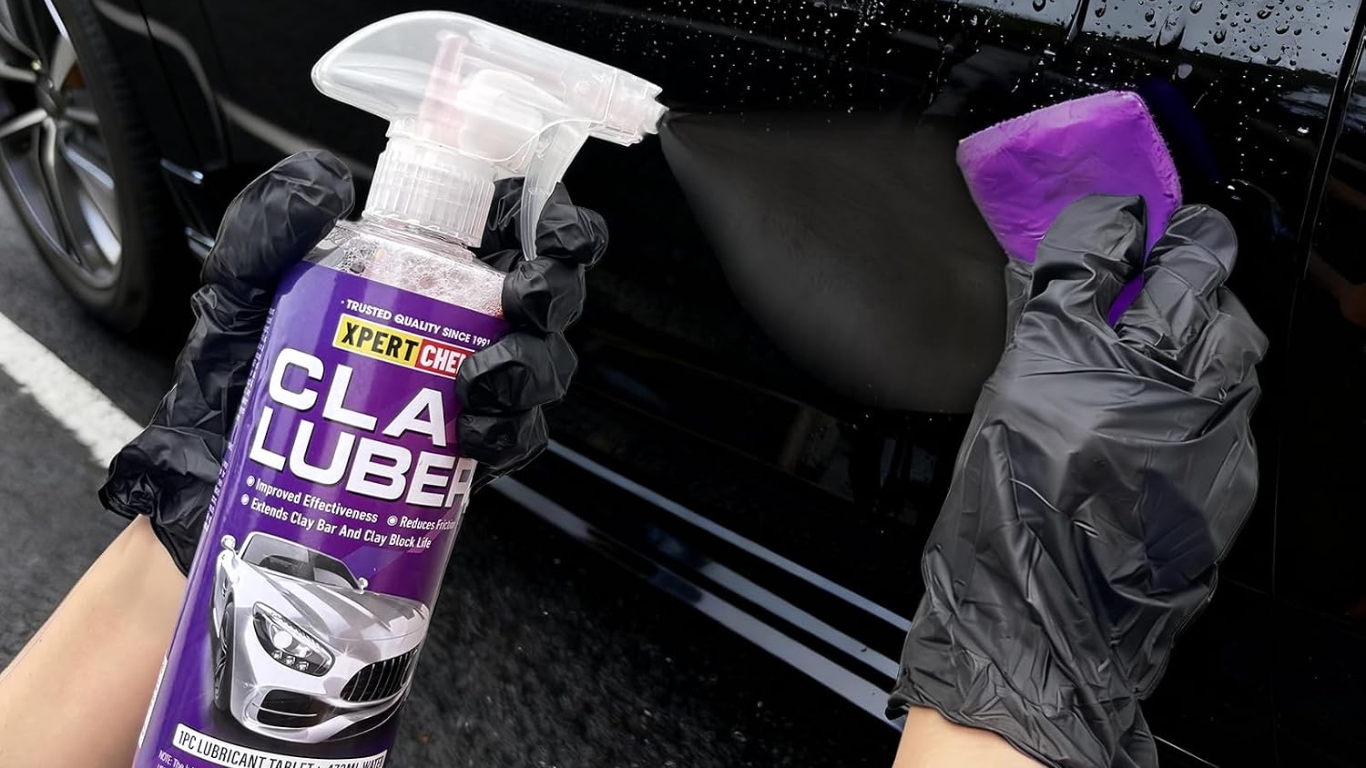
Remove bonded contaminants that washing alone can’t touch.
A freshly washed hood can still feel gritty, signaling bonded surface contamination that regular soap and water cannot remove. A detailing clay bar acts like a magnet for industrial fallout, tree sap particles, and embedded road grime. Apply dedicated clay lubricant to small sections and work the clay across the paint with light back-and-forth passes. Fold the clay frequently to expose a clean surface.
This foundational step enhances the performance of subsequent polishing, sealant, or wax applications. The smooth, glass-like finish ensures paint protection bonds effectively when prepping for a cross-country haul. The necessary products cost a fraction of professional detailing services.
2. Exterior Plastic Trim Restoration
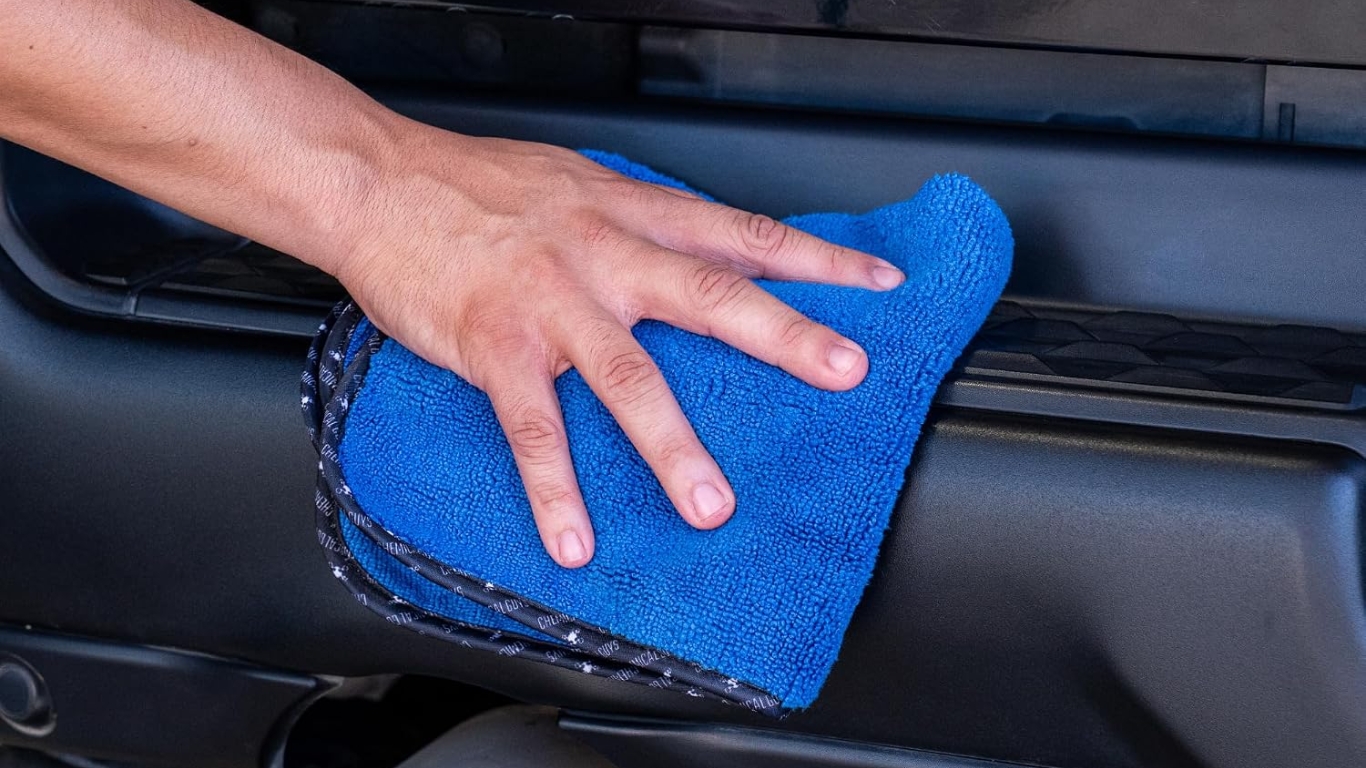
Reverse UV damage and bring factory-fresh black back to faded trim.
UV exposure transforms black exterior plastics into chalky gray, aging a vehicle faster than most other factors. Effective restorers penetrate the surface and deliver results that can last months, depending on formulation and exposure.
Apply the restorer to a foam pad, working it into the trim with overlapping strokes to prevent overspray. Allow the product to penetrate according to label instructions, then wipe excess with a clean microfiber cloth. This yields an immediate, dramatic transformation back to deep black. The vehicle avoids looking like it endured a decade in a dusty pit stop.
3. Headlight Lens Restoration
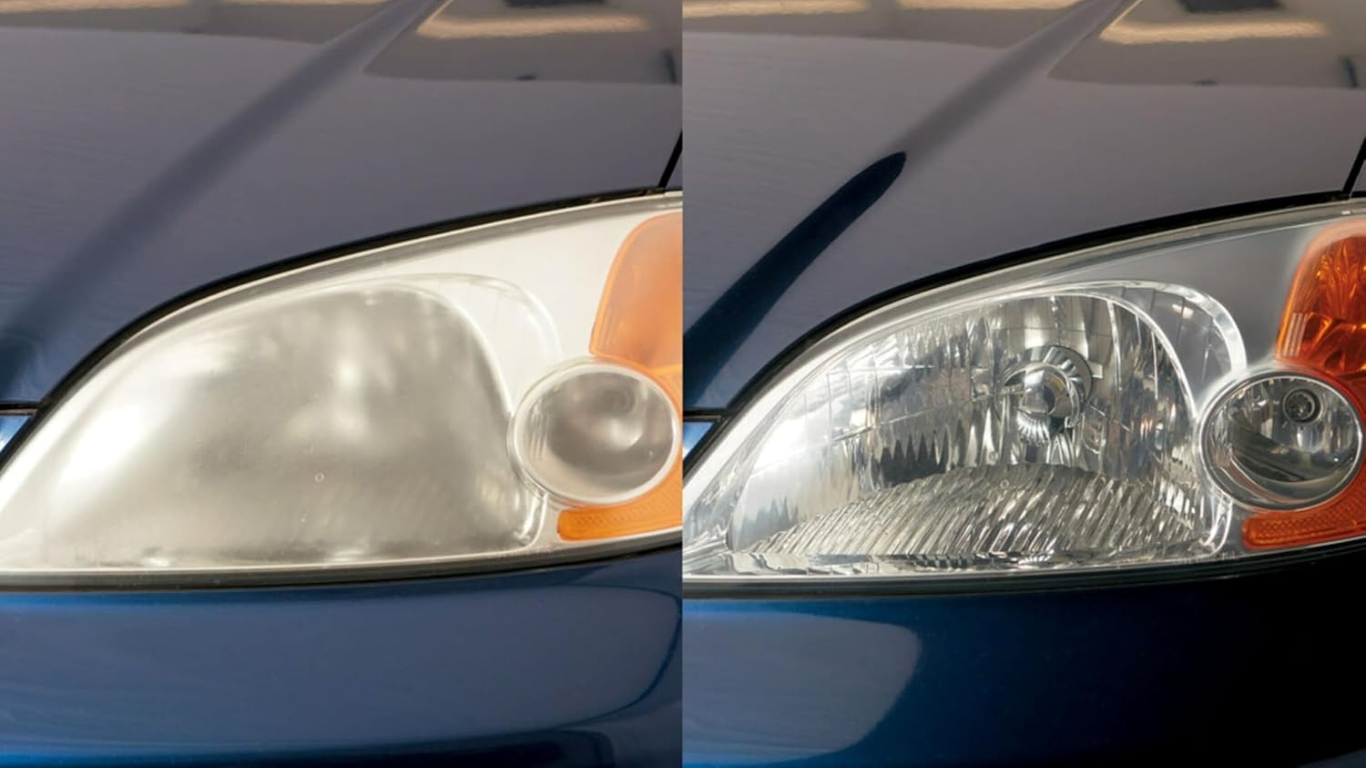
Clear cloudy lenses and restore sharp nighttime visibility.
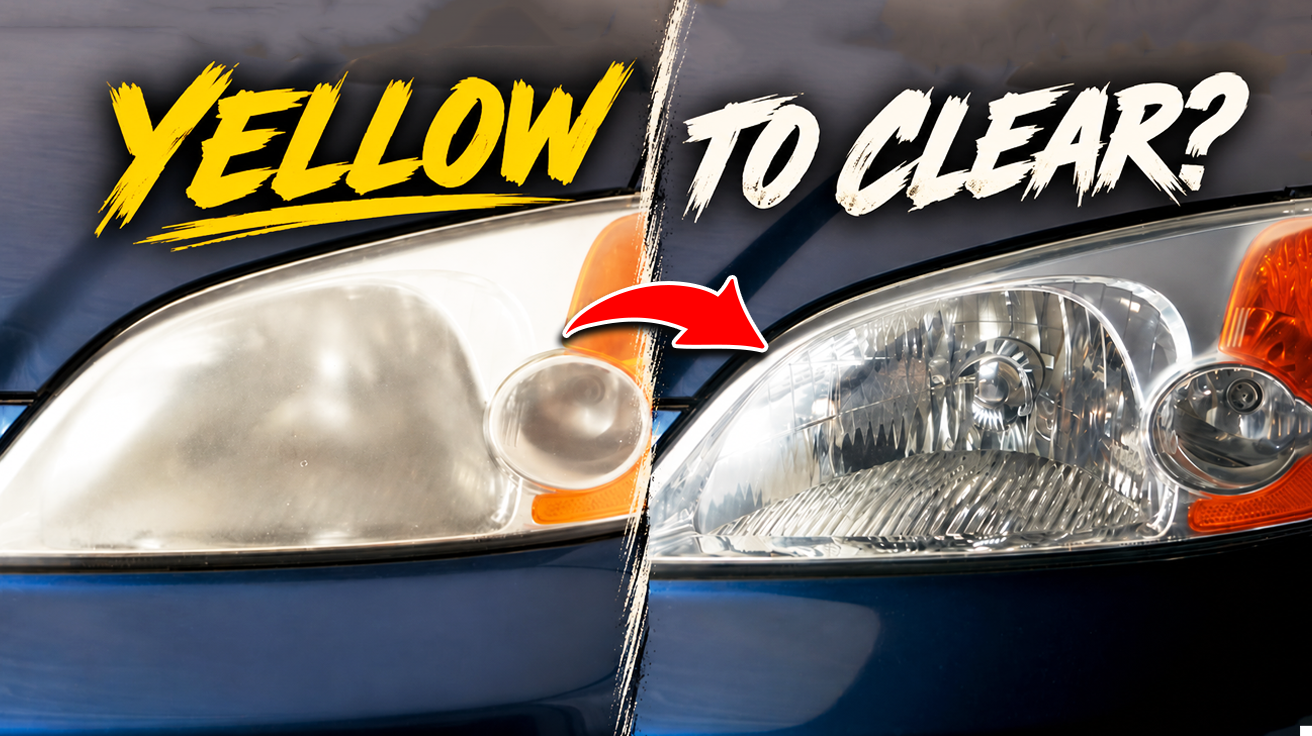
Headlight lens restoration tackles cloudy, yellowed polycarbonate through progressive wet sanding. The 3M restoration process uses an abrasive sequence starting around P800 grit and progressing through finer grades to P3000, followed by rubbing compound and machine polish. Work in straight, horizontal passes until the lens achieves a uniformly hazy surface, then apply compound until clarity returns. Follow with polishing compound for a sharp finish.
Immediately seal the bare polycarbonate with a dedicated UV headlight coating. Without protection, the lens will re-oxidize quickly, turning the effort into a pointless exercise. Clear headlights restore that sharp, decisive vision needed on unfamiliar backroads.
4. Interior Vinyl Cleaning and Dressing
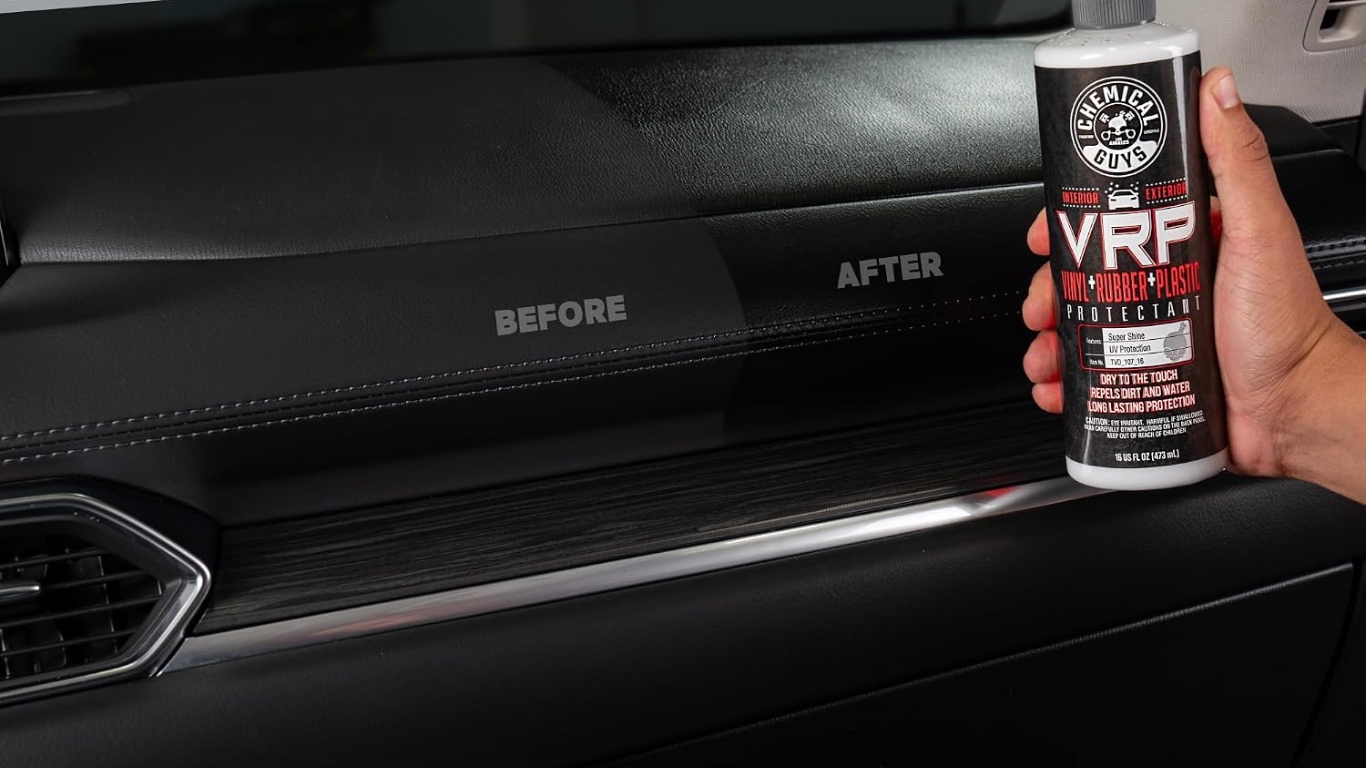
Restore dashboards and door panels to factory-like condition.
Faded, dry vinyl quickly diminishes a cabin’s appeal. Restore these surfaces by cleaning them thoroughly first. Use a dedicated interior cleaner and a soft brush to lift embedded dirt and old silicone. Skipping this step and applying dressing directly often results in a greasy finish that attracts more grime within days.
Once the vinyl is clean and dry, apply a matte or satin finish dressing with a foam applicator in thin, even coats. A matte appearance creates a factory-like look and crucially reduces windshield glare far better than high-gloss products. Reflective distractions disappear, and every journey becomes more comfortable.
5. Windshield Water Repellent
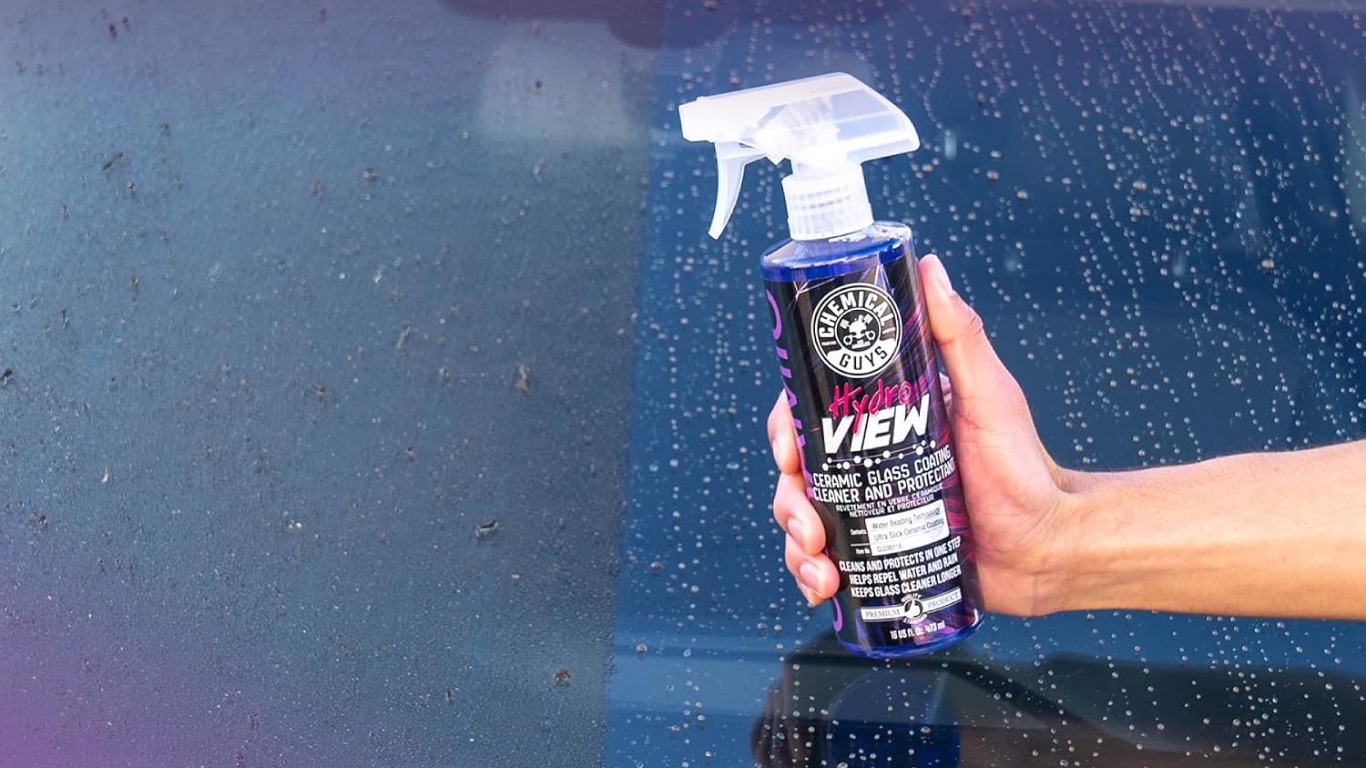
Make rain bead and roll away for dramatically improved visibility.
Hydrophobic glass treatments cause rainwater to bead and move readily across the windshield, particularly at driving speeds. This clarity enhances confidence when the weather turns foul, transforming tricky rainy drives into manageable ones.
Achieving this effect demands precision. Thoroughly clean the windshield with isopropyl alcohol, scrubbing away every trace of wax, silicone, and road film. Skipping this critical step means the treatment bonds to contaminants and washes away prematurely. A properly applied coating, layered on bare glass and buffed clear according to product instructions, maintains that crucial connection between driver and road.
6. Engine-Bay Cleaning
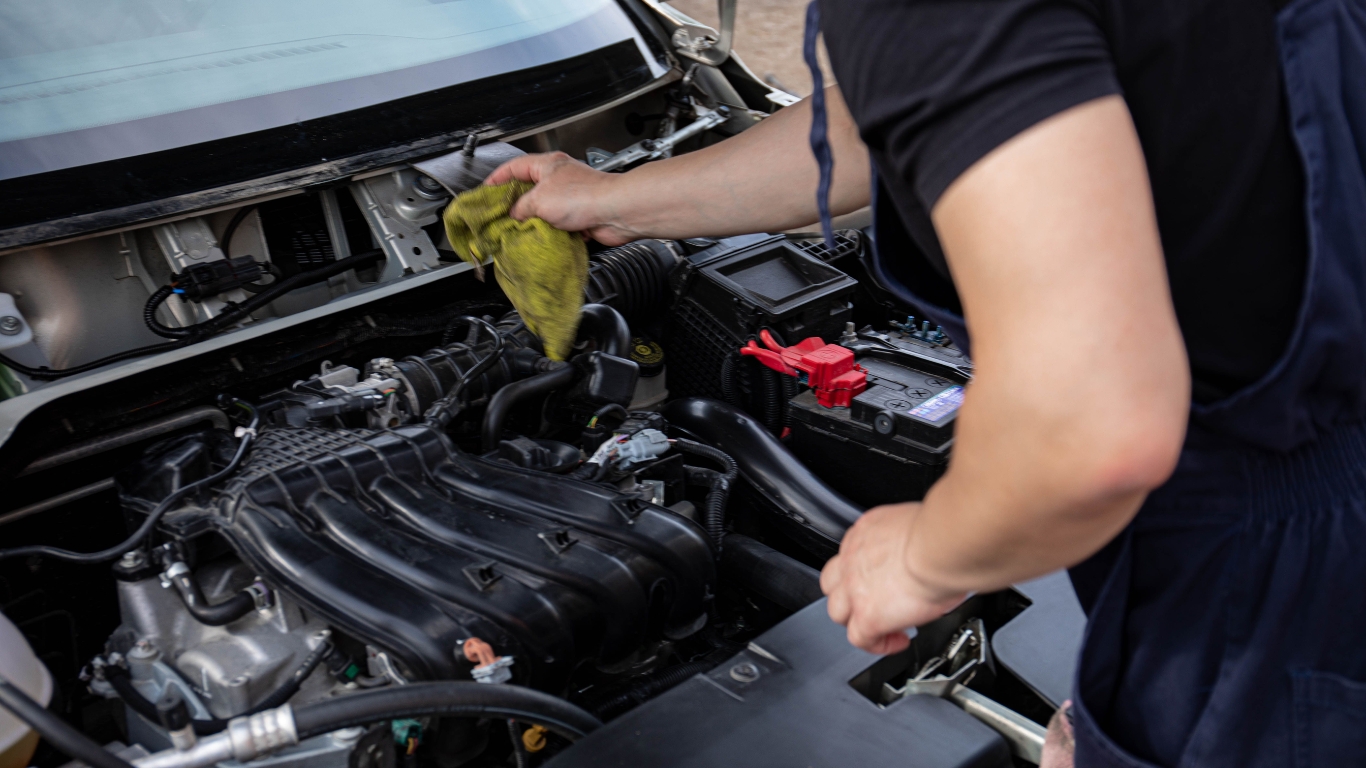
Signal meticulous maintenance with a clean engine compartment.
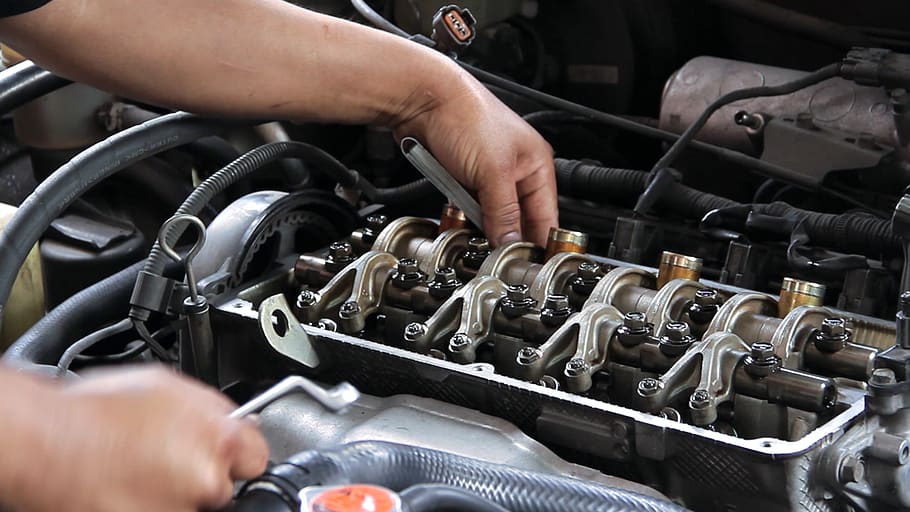
A clean engine bay creates an impression often disproportionate to the actual effort. Begin with a cool engine, protecting sensitive components such as the alternator, air intake, and fuse boxes with plastic bags. No one wants to spelunk through a forgotten cave just to check the oil.
Apply engine degreaser, letting it penetrate according to product instructions. Rinse with a gentle garden hose stream; avoid pressure washers, which force water into electrical connections. Many vehicle manufacturers advise against washing a running engine and recommend drying components thoroughly before driving. This process transforms the engine bay, giving it the polished look of a track machine.
7. Paint Scratch Repair and Touch-Up
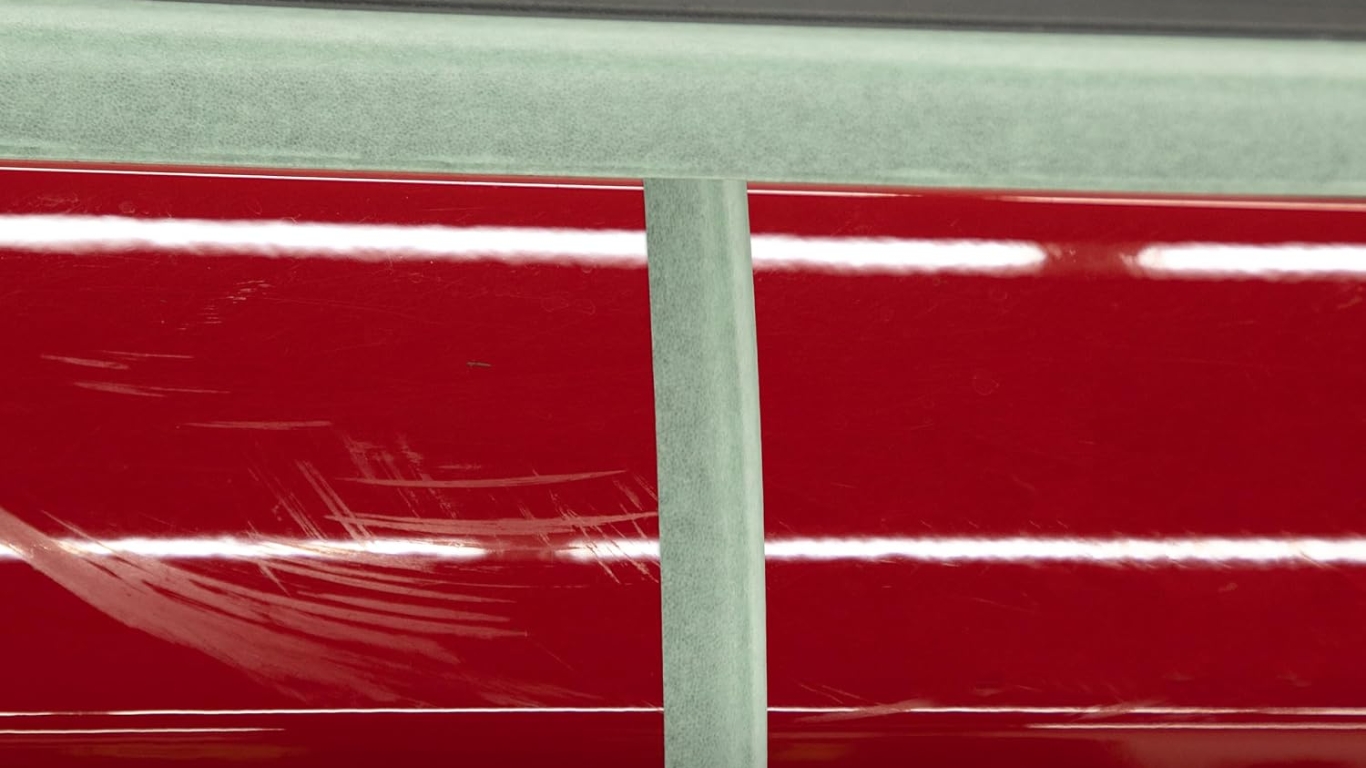
Address surface damage before it becomes a rust problem.
Leaving paint scratches unattended is like neglecting a small rattle in the engine; what starts as minor can quickly become serious. The fingernail test provides a rough indication of scratch depth, though it cannot replace close inspection. If a nail glides over the blemish without catching, the damage is likely superficial and may respond to polishing.
If the nail catches, the scratch has measurable relief and may require touch-up paint matched to the vehicle’s factory code. Allow touch-up paint to cure according to product instructions before any leveling or polishing steps. Deep scratches reaching bare metal generally require professional refinishing to prevent rust.
8. Carpet Deep Cleaning
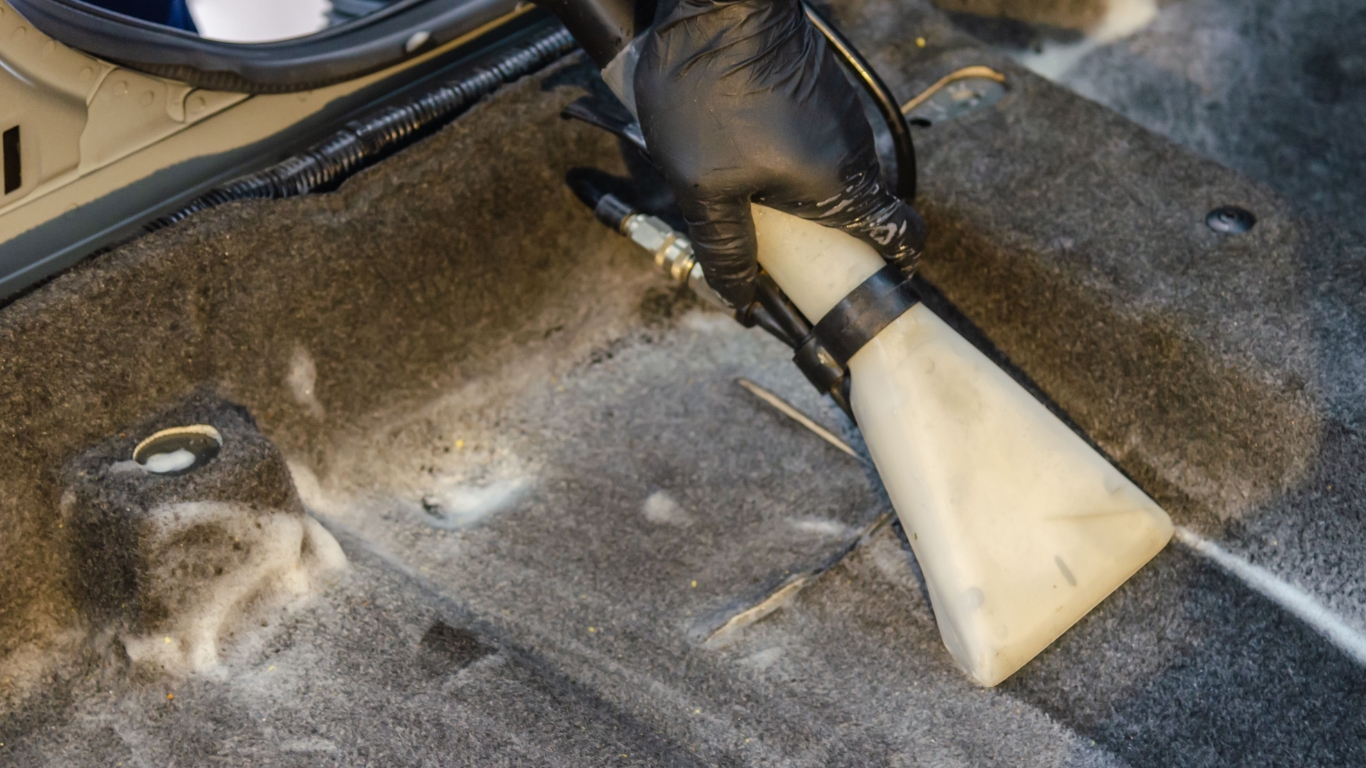
Eliminate stains and odors trapped in floor carpet.
Genuinely clean, evenly colored carpet delivers that fresh hit regardless of mileage. Vacuum thoroughly before wet cleaning; cleaner on dry debris creates mud that spreads stains. Apply carpet cleaner to soiled areas, agitating with a stiff brush in straight strokes along the carpet pile. Allow the cleaner to penetrate according to label instructions, then blot with a clean white cloth.
For stubborn stains, repeat. Dry carpets completely with open windows and doors to prevent mildew, ensuring the interior feels ready for a cross-country haul.
9. Door-Seal Conditioning
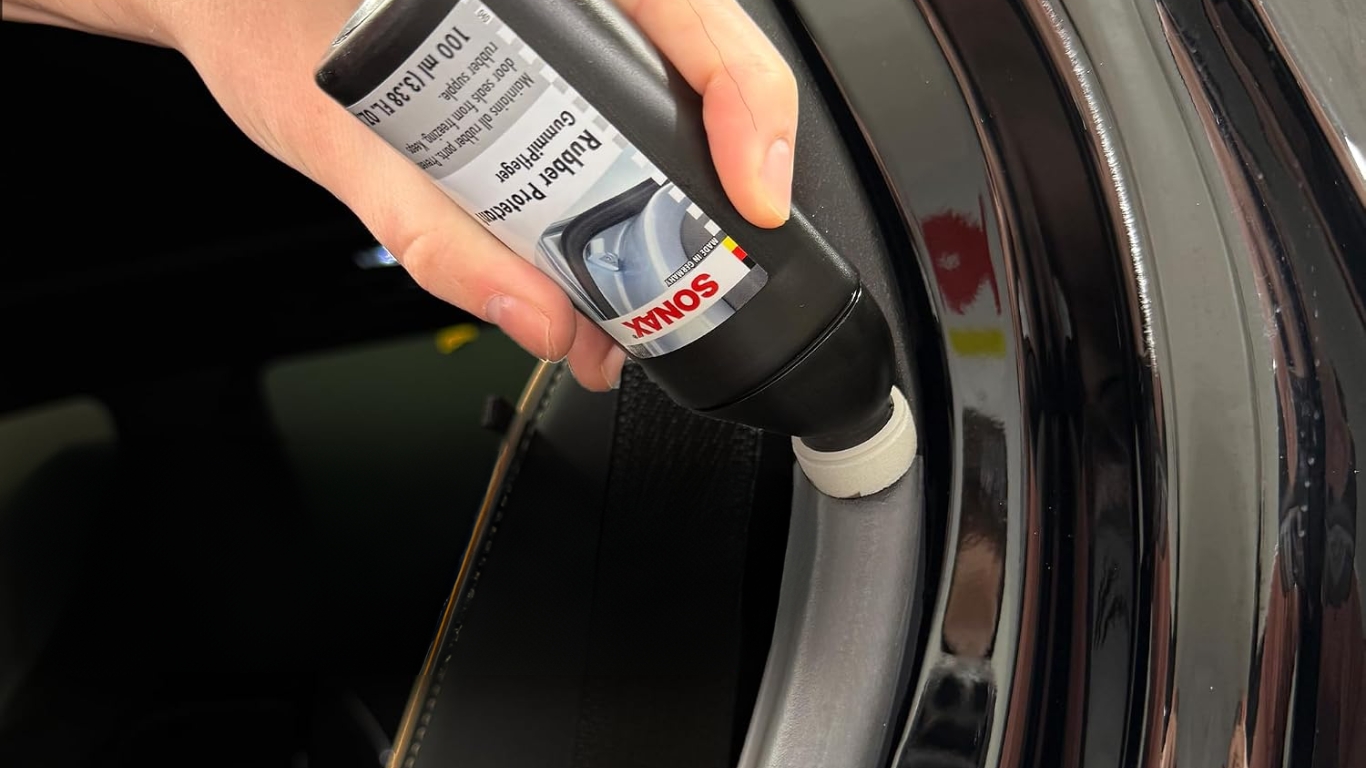
Reduce wind noise and maintain weatherstrip flexibility.
Rubber door seals endure constant compression, UV exposure, and temperature cycling, transforming flexible material into brittle, cracked lines. This degradation causes increased cabin noise, potential water ingress, and visibly ages the vehicle.
Applying a compatible rubber or weatherstrip conditioner with a foam applicator helps maintain flexibility. Avoid petroleum products or unsuitable dressings unless the vehicle or product manufacturer specifically approves them, because some chemicals can swell or degrade rubber. The reduction in wind noise on the next highway drive is noticeable, silencing a persistent phantom rattle.
10. Wheel and Tire Detailing
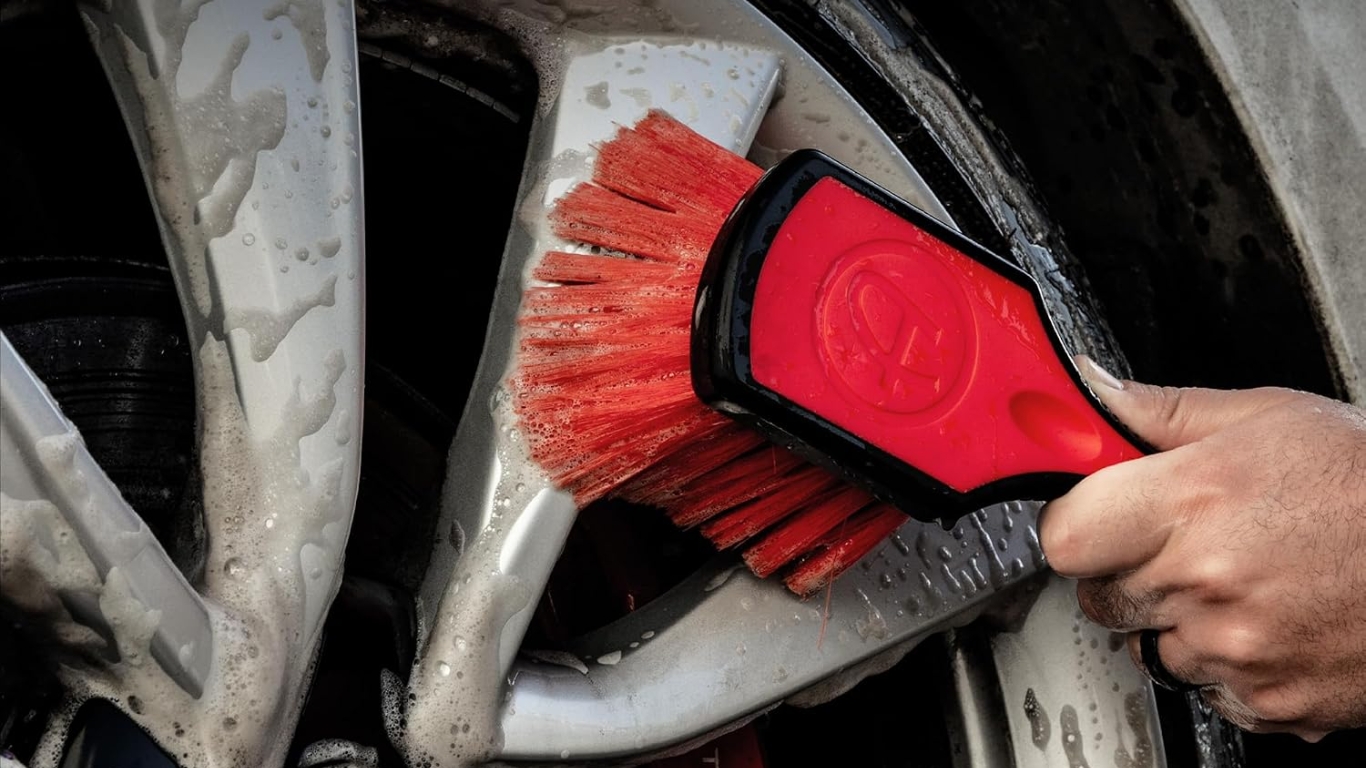
Elevate the vehicle’s presence with properly cleaned and dressed wheels.
Clean, dressed wheels and tires unmistakably signal a meticulously maintained vehicle. Begin by applying a dedicated wheel cleaner compatible with the wheel’s finish—painted, clear-coated, anodized, chrome, or bare metal. Allow the cleaner to dwell according to its instructions, agitate with a suitable brush, and rinse thoroughly.
For tires, dressing belongs only on the sidewall. Keeping it off the tread surface preserves traction. A matte finish gives a natural, new tire look; high-gloss can seem overdone and attracts road grime. This attention to detail elevates the car’s presence from parking lot to open road.
11. Odor Elimination and HVAC Cleaning
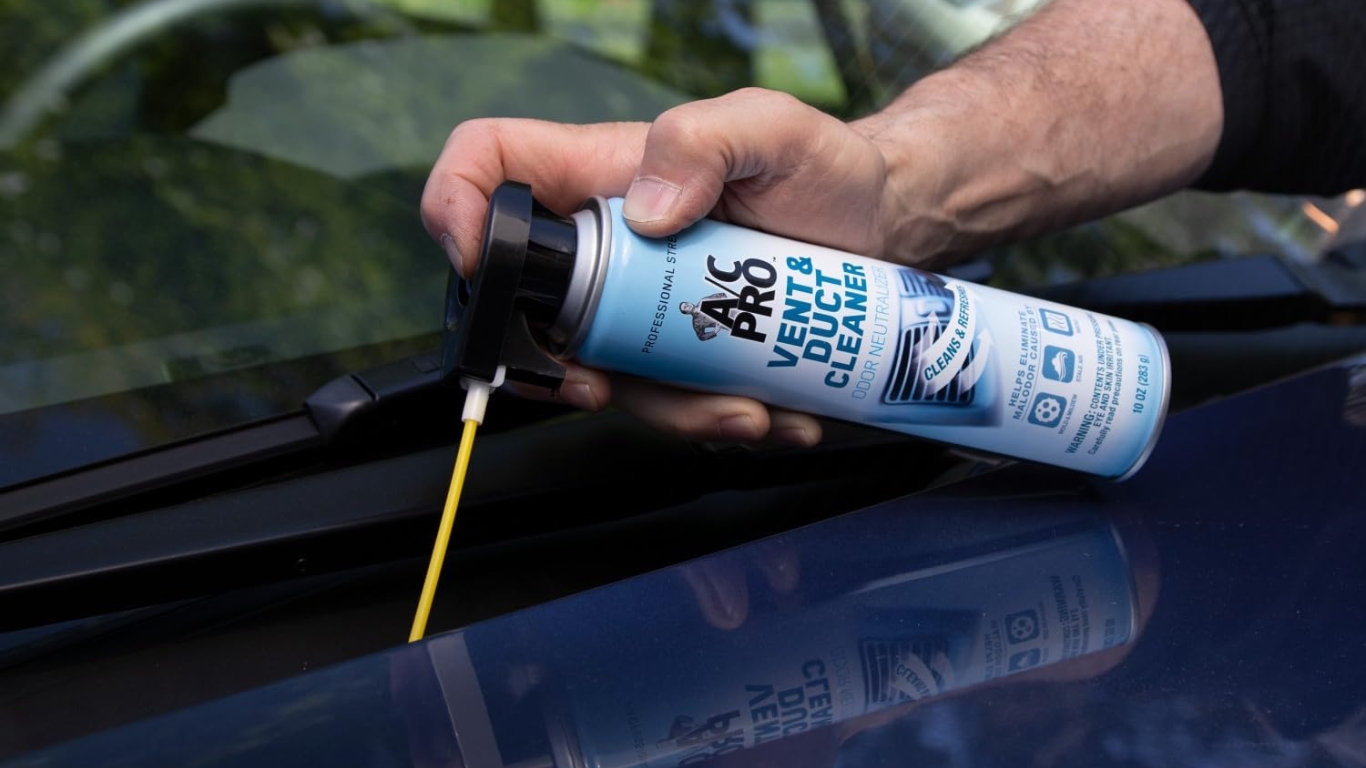
Trace and remove odor sources rather than masking them.
Air fresheners add competing scents, making the cabin’s atmosphere worse. True elimination demands finding and removing the source. The cabin air filter, a frequently neglected component, can accumulate dust, pollen, and moisture. Replacing this filter resolves many odor complaints.
For deeper issues, the evaporator core cultivates a funk that settles in. Evaporator-cleaning products must be used according to label instructions and kept away from occupants and sensitive electrical components. This process resets the vehicle’s interior, ready for any road trip.
12. Interior Glass Decontamination
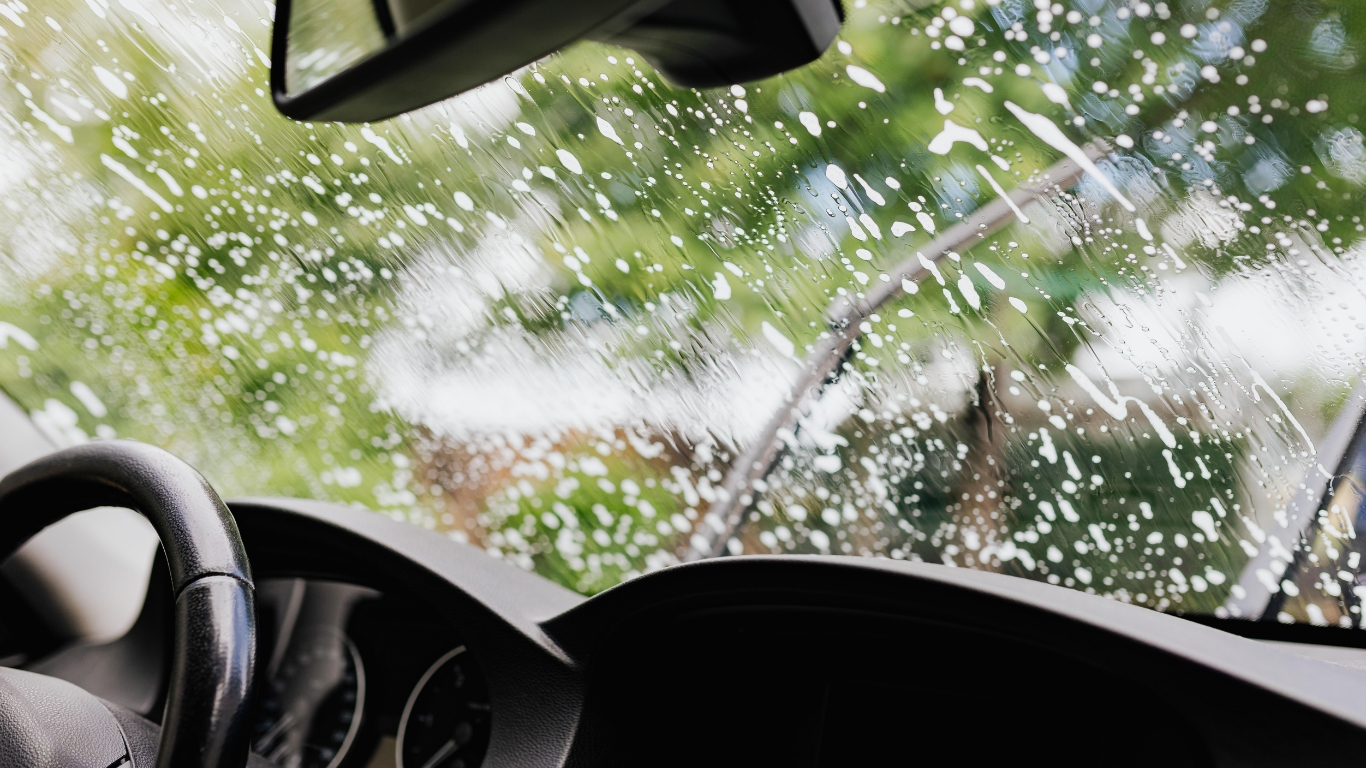
Eliminate dashboard film and restore crystal-clear visibility.
Interior glass develops a stubborn film from dashboard outgassing, smoke, and condensation, severely compromising night visibility. To eradicate it, use an automotive glass cleaner and clean, lint-free microfiber towels. Isopropyl alcohol can help remove oily residue but should be used carefully around tint, aftermarket films, plastics, and electronics.
Clean with good ventilation and inspect under angled light. Circular motions followed by straight strokes eliminate streaking that catches headlight glare at night. Crystal-clear glass dramatically reduces eye strain, enhancing driving pleasure.
13. Synthetic Paint Sealant Versus Wax
Choose protection that lasts a full season, not just weeks.
Synthetic paint sealants generally offer longer service intervals than traditional waxes, while ceramic coatings are more durable and more preparation-sensitive. Durability depends on formulation, preparation, washing, weather, and storage. Relying on short-lived protection alone is inadequate for serious paint defense.
For those seeking serious paint renewal, apply protection to clean, decontaminated paint in thin layers. Work one panel at a time with an applicator pad, using thin, overlapping passes. Allow the product to cure precisely for the specified duration and observe the manufacturer’s curing time. Buff with a clean microfiber cloth, and the paint will hold its sheen for miles to come.
14. Leather Cleaning and Conditioning
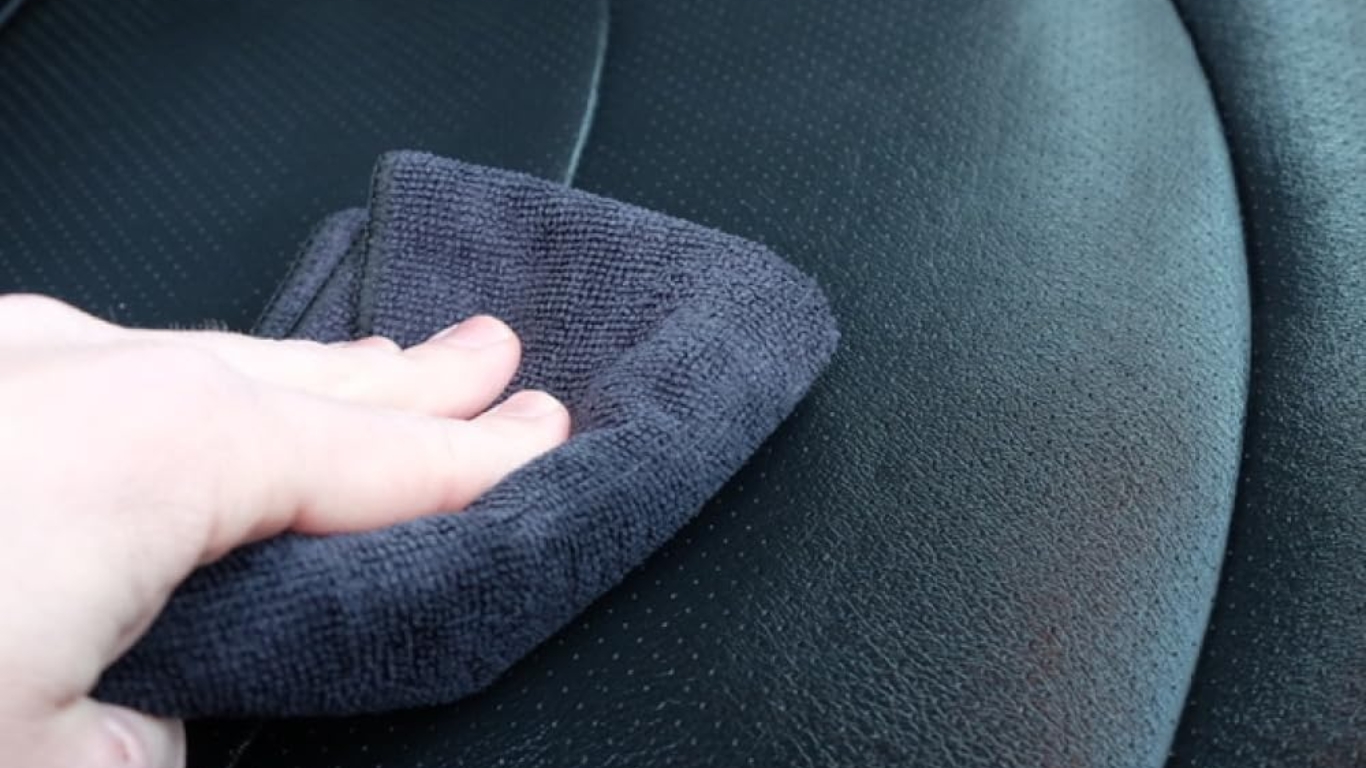
Preserve suppleness and prevent premature cracking.
Unmaintained leather seats can develop a dry, brittle surface, transforming a plush interior into something resembling old baseball mitts. Always clean leather before conditioning. Dirty leather traps grime, accelerating degradation. Many modern seats contain coated leather, vinyl, or synthetic materials, so the vehicle’s care instructions take priority over generic leather-treatment advice.
Apply a dedicated leather cleaner with a soft brush, working into grain and seams. Wipe clean and allow to dry completely. Follow with a leather conditioner using a foam applicator, applying thin coats sparingly. Test first in a hidden area. This ensures a soft, natural sheen, keeping the cockpit sharp for the next open road.
15. Chrome and Metal Polishing
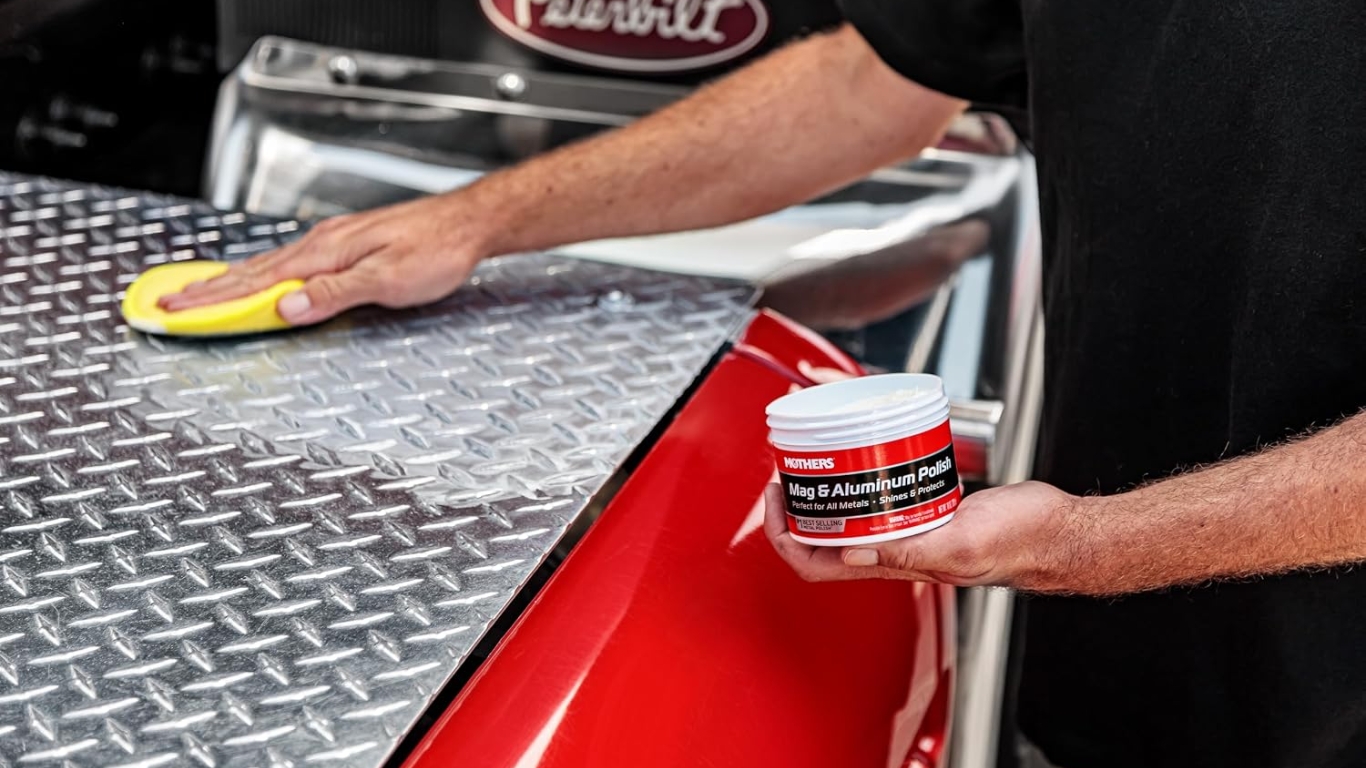
Restore mirror reflectivity to oxidized trim and exhaust tips.
Chrome, stainless steel, aluminum, and other bare metals require products appropriate to their finish and hardness. Metal polish can remove oxidation, water spots, and light surface staining. Apply it with a microfiber cloth in straight, deliberate strokes, following any existing grain. Allow it to haze before buffing with a clean cloth.
Polish will not restore deeply pitted or peeling chrome. After polishing, a compatible wax, sealant, or corrosion protectant can reduce renewed oxidation. Without protection, re-oxidation can recur in harsh conditions, making the effort short-lived.
16. Swirl-Mark Removal
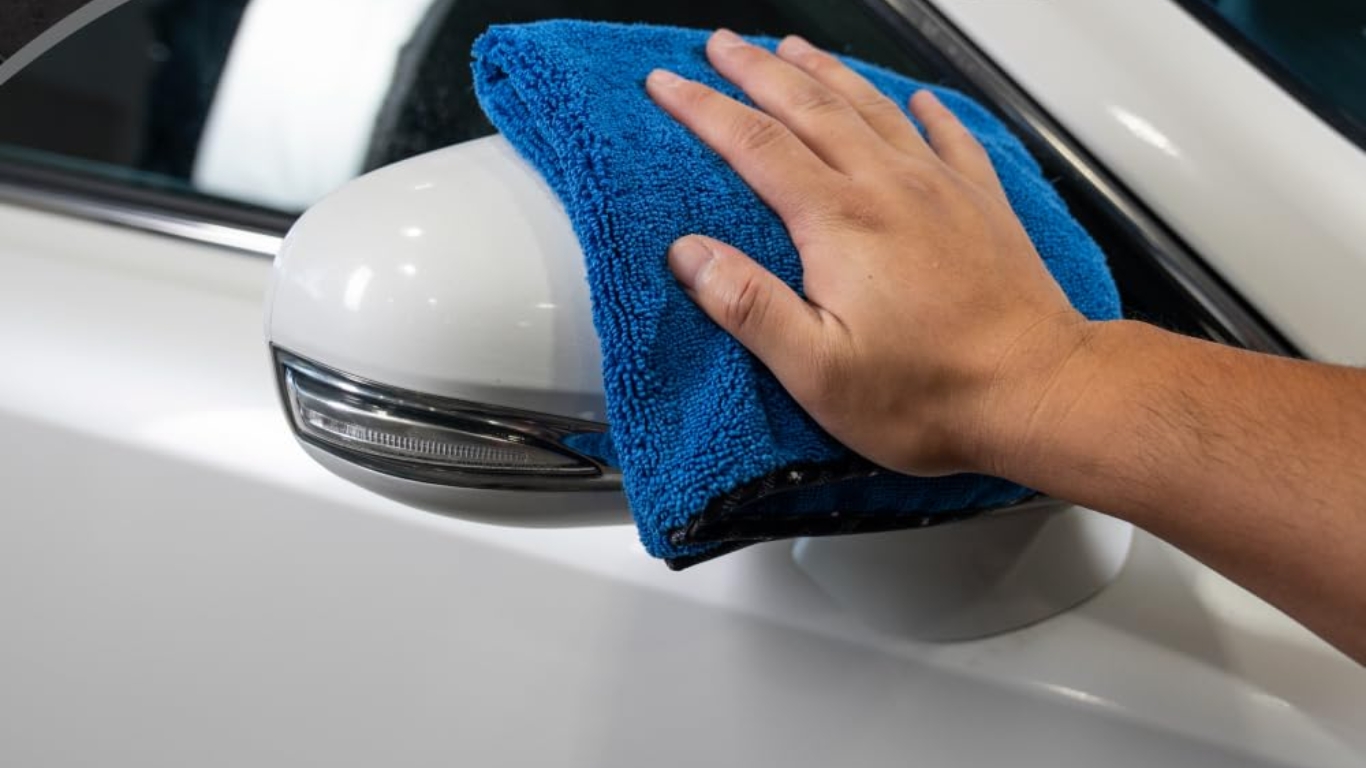
Eliminate fine scratches that dull paint and reflections.
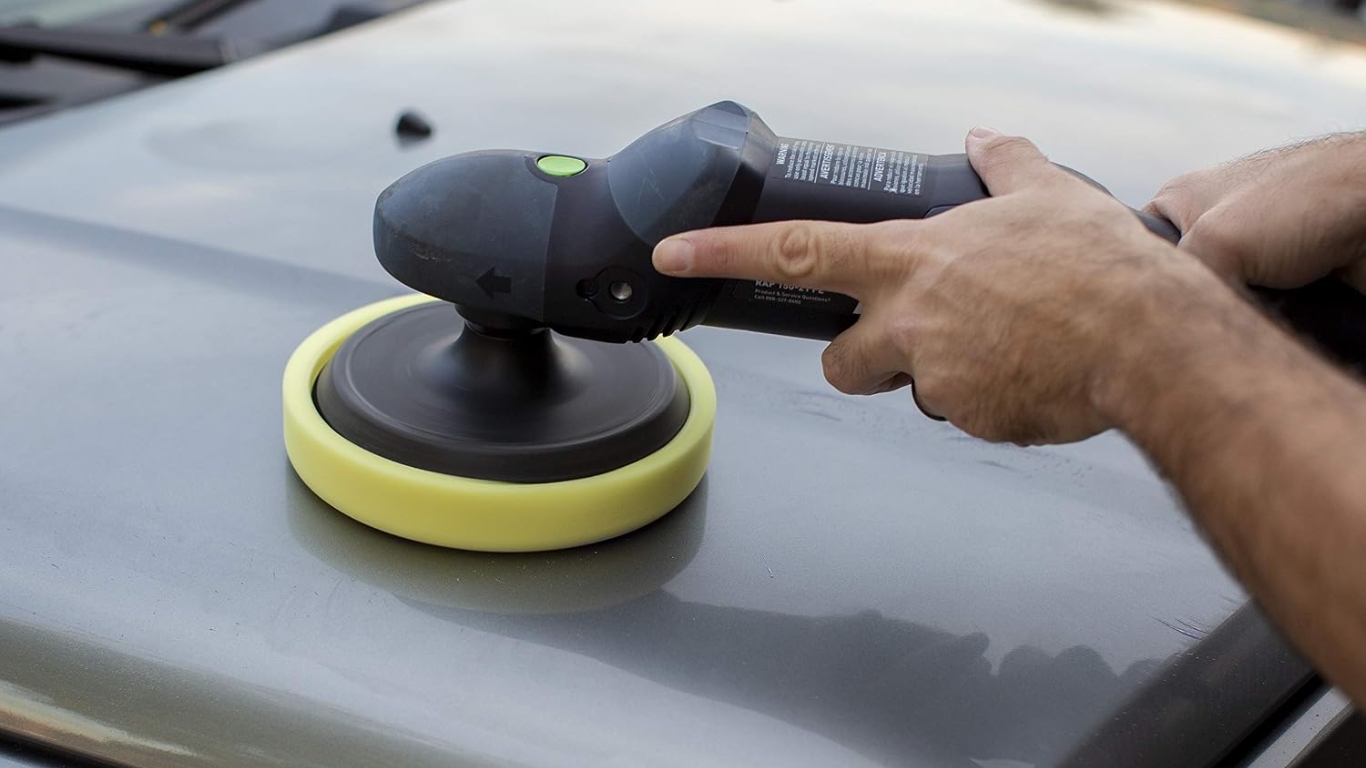
Swirl marks are fine surface scratches commonly caused by abrasive washing, contaminated towels, automatic brush washes, or wiping dry paint. Light defects may be reduced with a finishing polish by hand; deeper defects generally require machine polishing and careful paint-thickness management.
Apply polishing compound with a foam applicator using firm, overlapping crosshatch passes on a small area. Use clean microfiber towels, adequate lubrication, and test a small area before correcting the entire vehicle. A correctly polished panel reflects light with factory-fresh depth, ready for that cross-country drive.
17. Final Detail Inspection Walk-Around
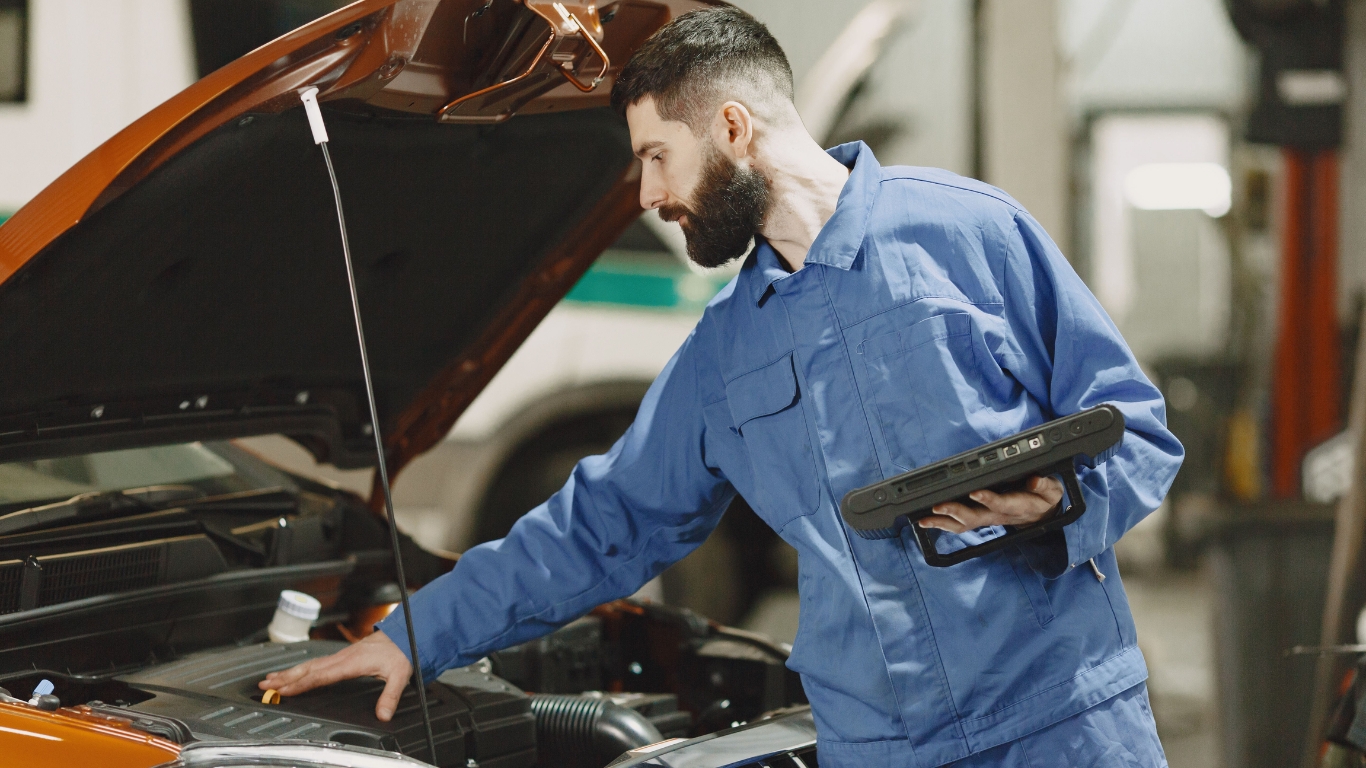
Catch missed defects before they detract from showroom condition.
A systematic inspection is the crucial differentiating step. Conduct it under bright, angled lighting to reveal polish residue, sealant high spots, streaked glass, uneven trim dressing, missed contamination, and remaining swirl marks. This specific lighting reveals critical flaws that might otherwise escape notice.
Methodically inspect panel by panel, glass surface by glass surface, correcting any revealed defects with the least aggressive method necessary. This isn’t just about making it shiny; it’s about delivering a finish so pristine the vehicle is ready for any discerning eye or an impromptu trip down a winding mountain road.