So, you’ve just poured your heart, soul, and probably a significant chunk of your savings into building a new engine. Congratulations! But the journey isn’t over yet. Breaking in a built engine properly is arguably just as crucial as the build itself. Skip this step, and you might as well have thrown all that money down the drain. We’re talking premature wear, reduced power, and a whole lot of regret. This guide is for you, the garage mechanic, the weekend warrior, the gearhead who demands the best from their machine. We’ll demystify the process, address common concerns, and arm you with the knowledge to ensure your new engine lives a long and powerful life.
Key Takeaways:
- Proper break-in is essential for engine longevity and performance. Don’t skip it!
- Follow a specific break-in procedure. No shortcuts!
- Monitor your engine closely during the break-in period. Listen and observe!
- Use the correct oil and filter. It matters!
- Don’t baby it too much. Controlled stress is key!
Understanding the Basics of How to Break in a Built Engine Properly
Breaking in a built engine is the process of seating the piston rings against the cylinder walls. Think of it like breaking in a new pair of leather boots. You wouldn’t run a marathon in them straight out of the box, would you? The same principle applies to your engine. During the break-in period, the rings and cylinder walls are still relatively rough. By subjecting them to controlled heat cycles and varying engine loads, you encourage them to wear against each other in a way that creates a tight, consistent seal. This seal is what prevents combustion gases from leaking past the rings (blow-by), which robs you of power and contaminates your oil. Key terminology includes:
- Ring Seating: The process of the piston rings conforming to the cylinder walls.
- Blow-by: Combustion gases leaking past the piston rings.
- Heat Cycling: Allowing the engine to reach operating temperature and then cool down completely.
- Load Variation: Changing the engine’s RPM and torque output during break-in.
Imagine your cylinder walls are like a freshly plowed field, and your piston rings are the plow. You need to run that plow across the field multiple times, at different speeds and depths, to create a smooth, even surface. That’s essentially what you’re doing during the break-in process.
Importance and Implications
Why does all this matter? Because a properly broken-in engine will:
- Produce more power: A good ring seal means more of the combustion energy is used to push the piston down, not escaping into the crankcase.
- Last longer: Reduced blow-by means less oil contamination and less wear on critical engine components.
- Consume less oil: A tight ring seal prevents oil from being drawn into the combustion chamber.
- Run cleaner: Less blow-by translates to fewer emissions.
Conversely, a poorly broken-in engine can suffer from:
- Reduced power output: Significant power loss due to blow-by.
- Premature wear: Increased friction and contamination lead to accelerated wear on bearings, pistons, and cylinder walls.
- Excessive oil consumption: Oil being burned in the combustion chamber.
- Increased emissions: Higher levels of pollutants in the exhaust.
In short, neglecting the break-in process is like building a house on a shaky foundation. It might look good at first, but it won’t stand the test of time.
Practical Applications or Strategies
Here’s a step-by-step guide to breaking in your built engine properly:
- Use the Right Oil: This is critical. Use a conventional, non-synthetic oil specifically designed for break-in. These oils typically contain higher levels of zinc and phosphorus (ZDDP), which are essential for protecting the camshaft and lifters during the initial break-in period. Avoid synthetic oils during break-in, as they can be too slippery and prevent the rings from seating properly. A 10W-30 or 10W-40 is usually a good choice, but consult your engine builder for their specific recommendations.
- Prime the Oil System: Before starting the engine for the first time, prime the oil system by pre-oiling the engine. This ensures that all critical components are lubricated before the engine fires up. You can usually do this by disconnecting the ignition system and cranking the engine until you see oil pressure on the gauge.
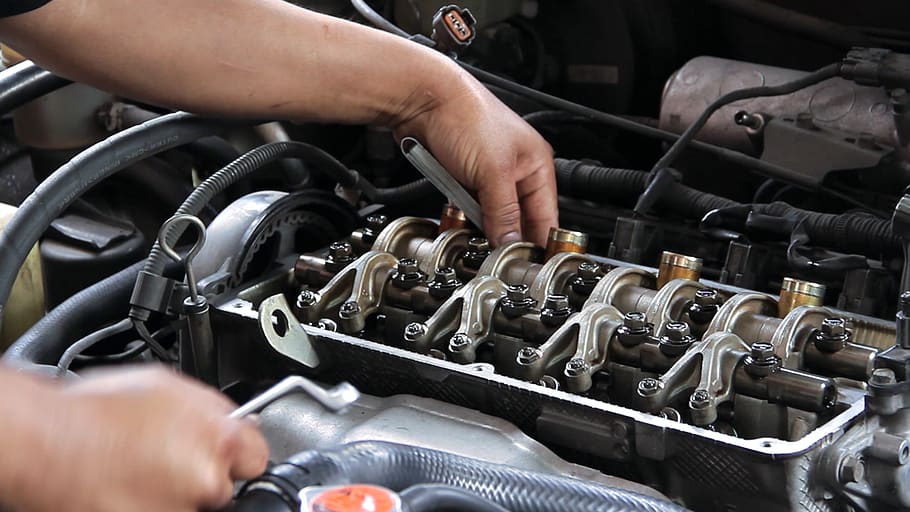
- Initial Start-Up and Cam Break-In (if applicable): If you have a flat-tappet camshaft, this is the most critical part of the break-in process. Start the engine and immediately bring it up to around 2000-2500 RPM. Hold it at this RPM for 20-30 minutes. This allows the camshaft lobes and lifters to properly mate. Monitor the engine closely for any signs of overheating or unusual noises. If you have a roller camshaft, this step is less critical, but still important.
- Heat Cycling: After the initial start-up, let the engine cool down completely. This allows the metal to contract and expand, which helps the rings seat. Repeat this heat cycling process several times.
- Load Variation: Once you’ve completed the initial heat cycles, it’s time to start varying the engine load. Drive the car (or run the engine on a dyno) through a range of RPMs and throttle positions. Avoid prolonged periods of idling or cruising at a constant speed. Accelerate briskly, then decelerate using engine braking. This helps to load the rings against the cylinder walls and promote proper seating. Don’t go full throttle or exceed the recommended RPM limit during the break-in period.
- Oil Change: After the first 50-100 miles, change the oil and filter. This removes any metal particles or debris that may have accumulated during the break-in process. Inspect the used oil and filter for any signs of excessive wear. Continue to use break-in oil for the next 500 miles.
- Gradual Increase in Load: Over the next 500-1000 miles, gradually increase the engine load and RPM. You can start to use more throttle and explore higher RPM ranges, but still avoid prolonged periods of full throttle or high RPM. Change the oil and filter again after 500 miles.
- Switch to Synthetic Oil: After 1000-1500 miles, you can switch to your preferred synthetic oil. Continue to monitor the engine closely for any signs of problems.
Common Pitfalls to Avoid:
- Using synthetic oil too early: As mentioned earlier, synthetic oil can prevent the rings from seating properly.
- Idling for extended periods: This doesn’t allow the rings to seat properly.
- Babying the engine too much: The rings need to be loaded against the cylinder walls to seat properly. Don’t be afraid to use some throttle.
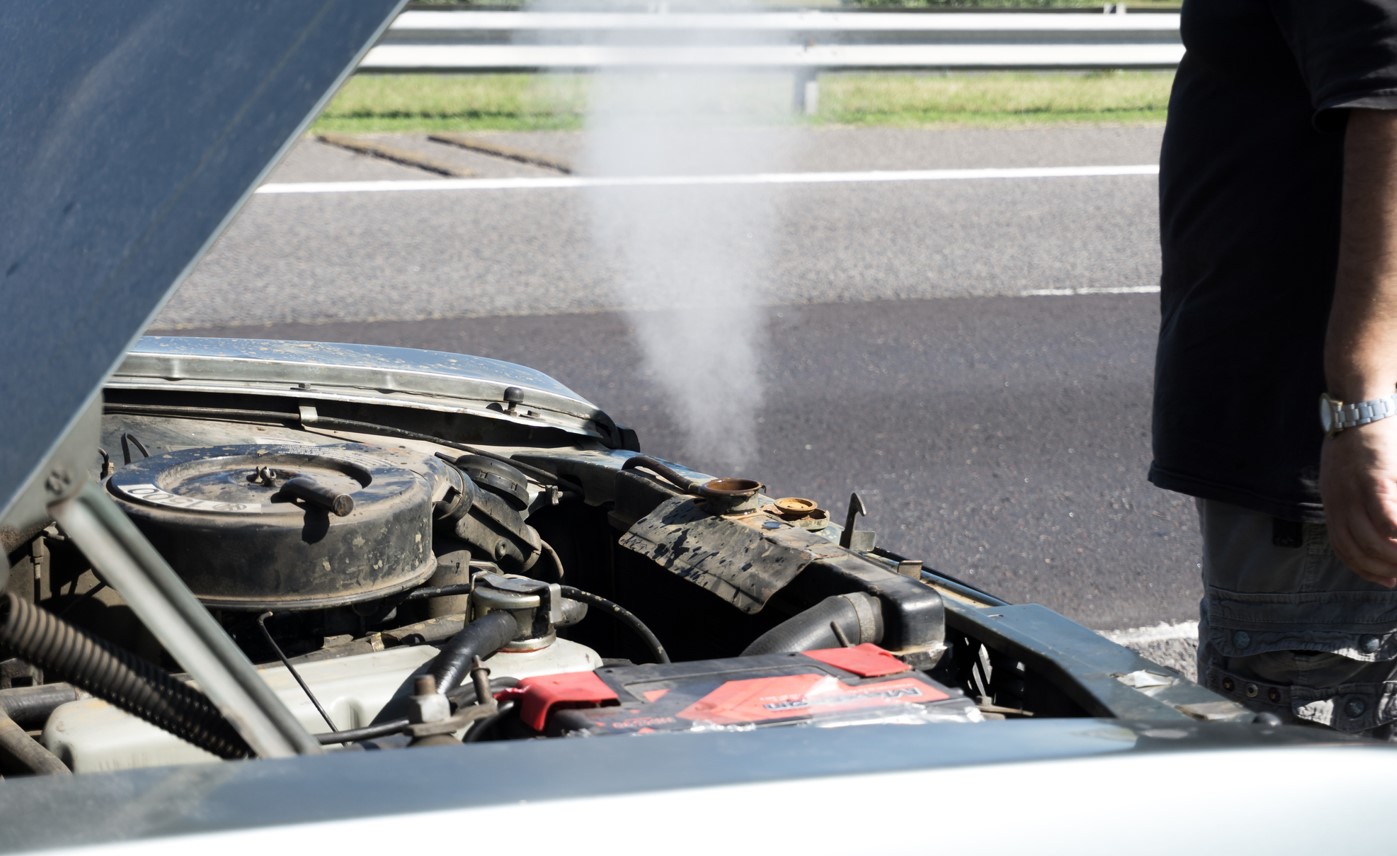
- Ignoring unusual noises or symptoms: If you hear anything unusual, stop the engine and investigate.
- Skipping the oil changes: This is crucial for removing debris and protecting the engine.
Expert Insights or Case Studies
I’ve seen countless engines ruined by improper break-in procedures. One particularly memorable case involved a high-performance small-block Chevy that was built for a drag racing application. The owner, eager to hit the track, skipped the break-in process and went straight to the dyno. The engine made decent power initially, but after only a few pulls, the oil pressure dropped dramatically. Upon teardown, we found that the rings had never seated properly, resulting in excessive blow-by and oil contamination. The engine was essentially ruined after only a few hours of use. This is a prime example of why the break-in process is so important.
I spoke with renowned engine builder, Smokey Yunick (may he rest in peace), about break-in procedures many years ago. He emphasized the importance of using a break-in oil with high ZDDP content and varying the engine load during the break-in period. He also stressed the importance of monitoring the engine closely for any signs of problems. His advice has served me well over the years.
The Importance of Vacuum Gauge Monitoring During Break-In
One often overlooked tool during the break-in process is a vacuum gauge. A vacuum gauge provides a real-time indication of engine health and can help you identify potential problems early on. During break-in, a steady and consistent vacuum reading indicates that the rings are seating properly and the engine is running efficiently. Fluctuations or low vacuum readings can indicate issues such as vacuum leaks, valve problems, or poor ring seal. By monitoring the vacuum gauge closely, you can catch these problems early and take corrective action before they cause serious damage.
Conclusion:
Breaking in a built engine properly is an essential step in ensuring its longevity and performance. By following the guidelines outlined in this article, you can maximize the life of your engine and enjoy years of trouble-free operation. Remember to use the right oil, vary the engine load, monitor the engine closely, and change the oil frequently. Don’t cut corners or take shortcuts. The break-in process is an investment in the future of your engine. So, take your time, be patient, and enjoy the process. Your engine will thank you for it.
Frequently Asked Questions:
What is How to Break in a Built Engine Properly?
It’s the process of seating the piston rings against the cylinder walls in a newly built engine to ensure a tight seal and optimal performance.
Why is How to Break in a Built Engine Properly important for Garage mechanics, gearheads?
It maximizes engine life, power output, and fuel efficiency while minimizing oil consumption and emissions.
How can I apply the concepts of How to Break in a Built Engine Properly in my context?
Follow the step-by-step guide outlined in this article, paying close attention to oil selection, load variation, and monitoring.
Where can I learn more about How to Break in a Built Engine Properly?
Consult your engine builder, reputable automotive forums, and technical manuals for more in-depth information.