Alright, detailers, let’s talk about something that probably makes your eye twitch: scratched rims. You’ve spent hours perfecting a paint correction, the interior is spotless, and then BAM! A curb-kissed wheel ruins the whole effect. We’ve all been there. The good news is, fixing a scratched rim isn’t some mystical art reserved for body shops. With the right knowledge and techniques, you can restore those rims to their former glory and keep your clients happy. This guide will break down the process, address common concerns, and equip you with the skills to tackle those unsightly scratches.
Key Takeaways:
- Understanding the Damage: Learn to identify different types of rim scratches and assess the severity.
- Mastering the Techniques: Discover proven methods for repairing scratches, from minor blemishes to more significant damage.
- Choosing the Right Products: Get familiar with the essential tools and materials needed for rim repair.
- Protecting Your Work: Learn how to properly seal and protect repaired rims to prevent future damage.
- Boosting Your Business: Offering rim repair services can significantly increase your revenue and customer satisfaction.
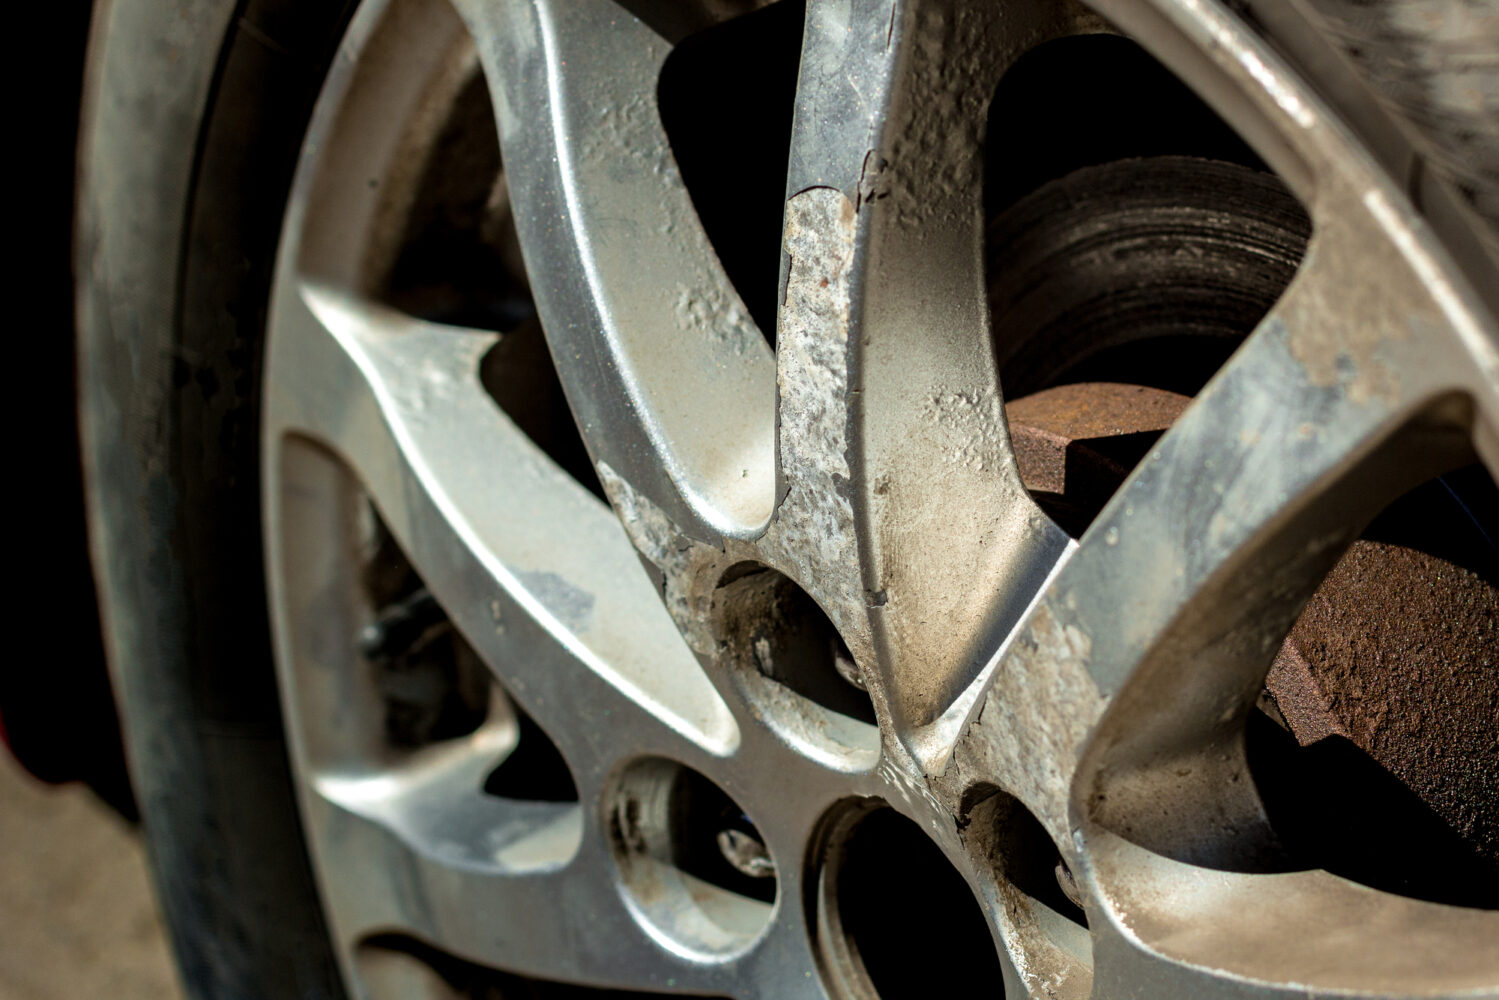
Understanding the Basics of How to Fix a Scratched Rim
Think of a rim scratch like a blemish on a perfectly smooth canvas. It’s an imperfection that disrupts the overall aesthetic. But before you grab your tools, it’s crucial to understand what you’re dealing with. Rim scratches can range from superficial surface scratches (think light swirls from improper cleaning) to deeper gouges that penetrate the clear coat and even the metal itself.
Key Terminology:
- Clear Coat: The protective layer applied over the paint on the rim.
- Curb Rash: Damage caused by scraping the rim against a curb.
- Filler: A compound used to fill in deeper scratches and imperfections.
- Sanding: The process of smoothing out the surface of the rim.
- Polishing: The process of restoring the shine and luster of the rim.
Imagine a car’s paint job. The rim’s finish is similar, just on a smaller, more durable scale. Understanding the layers involved (metal, primer, paint, clear coat) is essential for choosing the right repair method.
Importance and Implications
Why should detailers care about fixing scratched rims? Simple: it’s about delivering a complete and flawless service. A pristine paint job paired with damaged rims is like wearing a tuxedo with muddy boots. It just doesn’t work.
Here’s why rim repair matters:
- Customer Satisfaction: Clients expect a comprehensive detailing service. Offering rim repair demonstrates attention to detail and a commitment to excellence.
- Increased Revenue: Rim repair can be a profitable add-on service, boosting your bottom line.
- Enhanced Reputation: Word-of-mouth is powerful. Delivering exceptional results, including rim repair, will enhance your reputation and attract new clients.
- Preserving Vehicle Value: Damaged rims can detract from a vehicle’s overall value. Repairing them helps maintain its resale value.
Ignoring rim scratches is essentially leaving money on the table and potentially disappointing your clients. It’s a crucial aspect of complete vehicle detailing.
Practical Applications or Strategies
Okay, let’s get down to the nitty-gritty. Here’s a step-by-step approach to fixing a scratched rim:
- Assessment: Thoroughly inspect the damage. Determine the depth and extent of the scratches.
- Cleaning: Clean the rim thoroughly with a degreaser to remove dirt, grime, and brake dust.
- Sanding (if necessary): For deeper scratches, use progressively finer grits of sandpaper (e.g., 400, 600, 800, 1000, 2000) to smooth out the surface. Important: Wet sanding is generally recommended to minimize dust and prevent clogging the sandpaper.
- Filler (if necessary): Apply a thin layer of filler to fill in deeper scratches. Allow it to dry completely and sand it smooth.
- Priming: Apply a thin coat of primer to the repaired area. This will help the paint adhere properly.
- Painting: Apply several thin coats of paint, matching the original rim color. Allow each coat to dry before applying the next.
- Clear Coating: Apply several thin coats of clear coat to protect the paint and provide a glossy finish. Allow each coat to dry before applying the next.
- Polishing: Once the clear coat is fully cured, polish the rim to restore its shine and luster.
- Sealing: Apply a sealant to protect the repaired area from future damage.
Tips and Best Practices:
- Color Matching: Accurate color matching is crucial. Use the vehicle’s paint code or consult with an automotive paint supplier.
- Thin Coats: Applying thin coats of paint and clear coat is essential to prevent runs and drips.
- Patience: Allow each coat to dry completely before proceeding to the next step.
- Proper Ventilation: Work in a well-ventilated area when using paints and solvents.
Common Pitfalls to Avoid:
- Using the Wrong Products: Using incompatible products can lead to poor results and even damage the rim.
- Rushing the Process: Rushing the process can result in imperfections and a less-than-perfect finish.
- Ignoring Safety Precautions: Always wear appropriate safety gear, such as gloves and a respirator, when working with paints and solvents.
Expert Insights or Case Studies
I once had a client bring in a classic Porsche 911 with some seriously gnarly curb rash. The owner was devastated. After a careful assessment, I used a combination of sanding, filler, and precise color matching to restore the rims to their original glory. The client was blown away by the results and became a loyal customer. This experience reinforced the importance of offering rim repair as part of a comprehensive detailing service.
Many professional detailers swear by using a Dremel tool with various attachments for precise sanding and polishing in tight areas. This allows for greater control and accuracy, especially when dealing with intricate rim designs.
Choosing the Right Products for Rim Repair
Selecting the right products is paramount for achieving professional-quality rim repairs. Here’s a breakdown of essential items:
- Sandpaper: Invest in a variety of grits, ranging from coarse (400) to ultra-fine (3000), to address different levels of damage.
- Filler: Opt for a high-quality automotive body filler specifically designed for aluminum or alloy wheels. Ensure it’s easy to sand and provides a smooth finish.
- Primer: Use an etching primer to promote adhesion between the filler and the paint. Choose a primer compatible with the rim material.
- Paint: Acquire automotive-grade paint that precisely matches the rim’s original color code. Consider using a two-part paint system for enhanced durability.
- Clear Coat: Select a durable, UV-resistant clear coat to protect the paint and provide a glossy finish. Opt for a two-part clear coat for superior protection.
- Polishing Compounds: Invest in a range of polishing compounds, from coarse to fine, to remove imperfections and restore the rim’s shine.
- Sealant: Apply a high-quality wheel sealant to protect the repaired area from future damage and environmental elements.
Conclusion:
Fixing scratched rims is a valuable skill for any detailer. It allows you to deliver a complete and flawless service, increase your revenue, and enhance your reputation. By understanding the basics, mastering the techniques, and choosing the right products, you can confidently tackle those unsightly scratches and restore rims to their former glory. Don’t underestimate the power of a perfectly detailed wheel – it can make all the difference!
Frequently Asked Questions:
What is how to fix a scratched rim?
Fixing a scratched rim involves repairing damage to a wheel’s surface, typically caused by curb rash or other abrasions, to restore its appearance and protect it from further corrosion.
Why is how to fix a scratched rim important for Detailers?
It’s important because it allows detailers to offer a complete service, increase customer satisfaction, boost revenue, and enhance their reputation by delivering flawless results.
How can I apply the concepts of how to fix a scratched rim in my context?
Start by assessing the damage, cleaning the rim, sanding (if necessary), applying filler (if necessary), priming, painting, clear coating, polishing, and sealing. Remember to use the right products and follow safety precautions.
Where can I learn more about how to fix a scratched rim?
Explore online forums, watch tutorial videos on YouTube, attend detailing workshops, and consult with experienced detailers or automotive paint suppliers.