

Swapping a cabin air filter used to take one minute and zero tools. Pop the glove box, slide out the old cartridge, snap in the new one. Modern automotive design has turned that simple ritual into a scavenger hunt through fasteners, panels, and obscure part numbers. Manufacturers chase sleek lines and integrated packaging at the expense of anyone holding a socket wrench on Saturday morning. The shift delivers showroom appeal but quietly inflates repair bills and discourages the kind of hands-on upkeep that keeps vehicles running past 150,000 miles.
1. Dodge Journey Battery Location
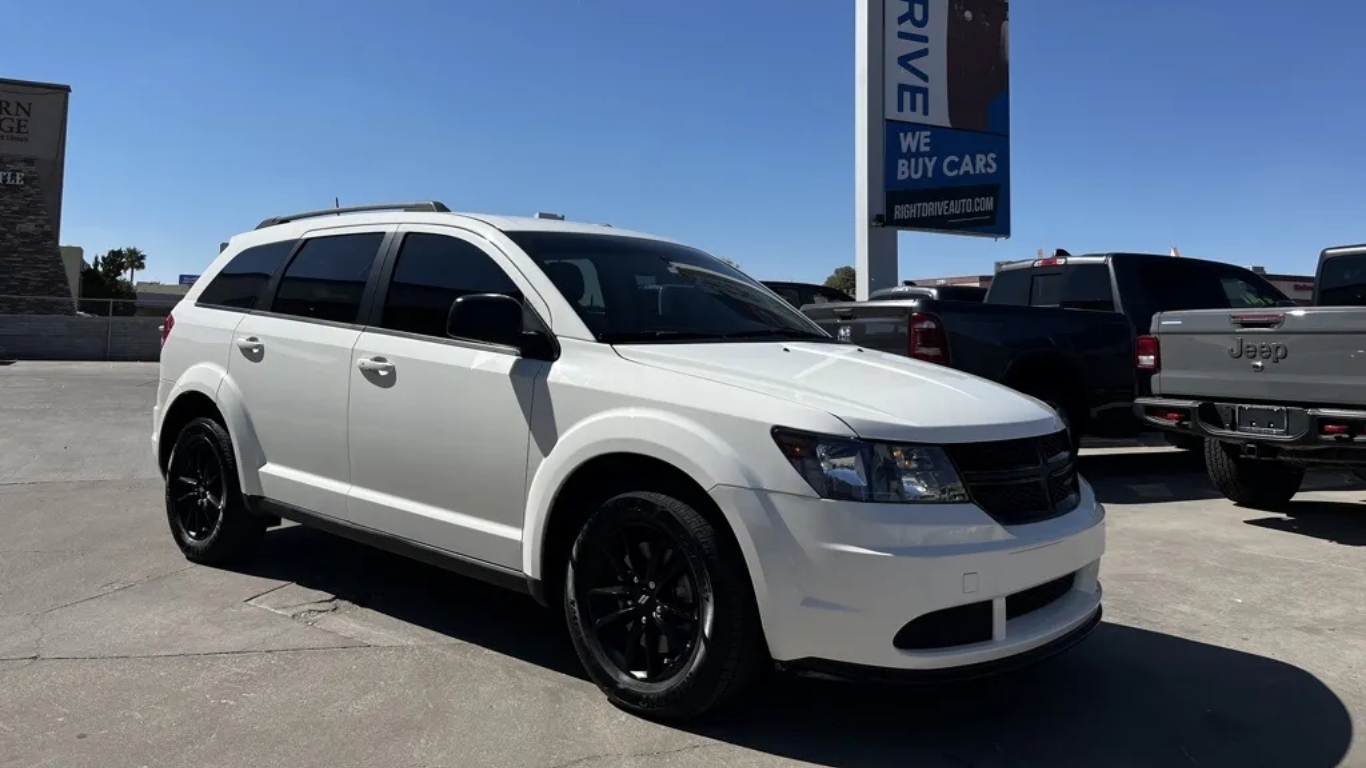
The main 12-volt battery hides in the front wheel well, turning a roadside jump-start into a jack-and-panel adventure.
The Dodge Journey stashes its battery in the front driver-side wheel well, tucked behind plastic splash guards and exposed to constant road spray. Corrosion accelerates on terminals and mounting hardware when moisture and salt settle in for the long haul. Accessing the battery requires raising the vehicle, pulling the wheel, and removing multiple shields—transforming a ten-minute swap into an hour-long ordeal that demands a lift or sturdy jack stands. Chrysler’s packaging choice solves underhood space constraints but places a wear item in one of the harshest environments on the vehicle, guaranteeing premature failures and stranding drivers at rest stops where AAA can’t help without serious tools.
2. Nissan Leaf Cabin Air Filter
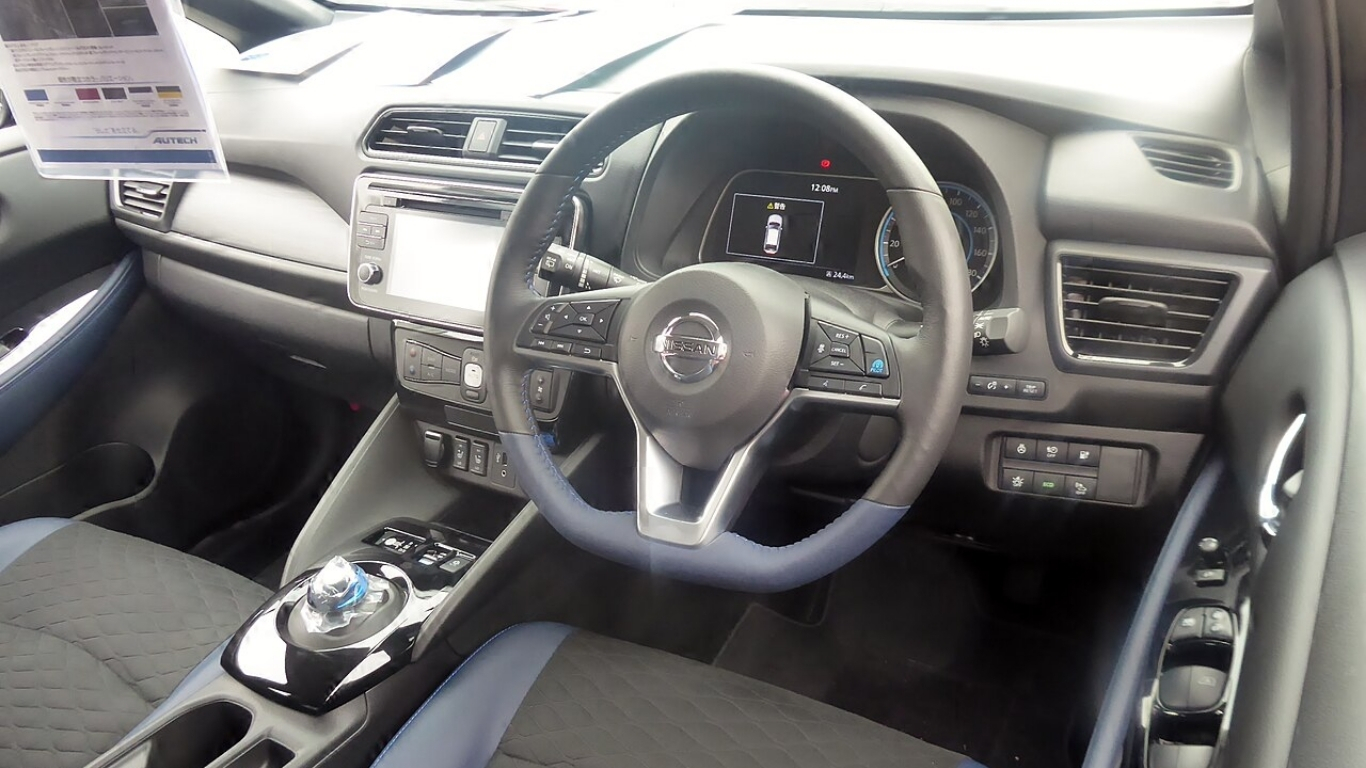
Nissan tucks the Leaf’s cabin filter deep in the passenger footwell, requiring glove-box gymnastics for what used to be a two-clip job.
The all-electric Nissan Leaf locates its cabin air filter on the passenger side, buried behind the glove box in the corner of the footwell. Some owners yank the entire glove box for easier access, but even the “simple” route demands removing a small under-dash panel, unclipping the filter housing door, and wrestling the cartridge free from a tight slot. Part number AQ1154 must be oriented with the airflow arrow pointing forward—easy to botch in the cramped space with minimal lighting. Independent guides note the buried location discourages DIY maintenance compared with vehicles that mount the filter directly behind a glove-box door, turning a five-minute refresh into a knuckle-scraping puzzle.
3. 2018 Audi RS3 Cabin Filter Design

Audi engineers the RS3 for quick thrills and quick filter swaps, proving accessibility doesn’t have to sacrifice performance.
The 2018 Audi RS3 packs a 2.5-liter turbocharged inline-five making 400 horsepower and 354 pound-feet of torque, routed through a seven-speed dual-clutch automatic and quattro all-wheel drive. Curb weight sits around 3,340 pounds, yet the compact sedan still delivers 19 mpg city and 28 highway. Beyond the spec-sheet fireworks, Audi places the cabin air filter behind an easily accessible interior cover that unclips in seconds—no glove-box removal, no fastener treasure hunt. After hammering third gear through a mountain pass, swapping the filter takes less time than cooling down the turbo, proving that balanced engineering can deliver both performance and practical serviceability without compromise.
4. Mazda CX-50 Cabin Filter Access

Mazda keeps it simple: drop the glove box, pop the cover, slide in the new filter—done.
The Mazda CX-50 compact crossover locates its cabin air filter directly behind the glove box, accessible by lowering the box and unclipping a small inner cover. No bolts, no kick-panel surgery, no wrestling with hidden fasteners. Conventional paper or activated-carbon filters fit the HVAC housing with clear airflow arrows and snap-on covers, and Mazda’s official maintenance schedule calls for inspection or replacement every 15,000 to 30,000 miles depending on environment. The straightforward design respects an owner’s time and proves that simplicity can coexist with modern crossover packaging.
5. 2021 Ford EcoSport Cabin Filter Replacement

Ford buries the EcoSport’s cabin filter in the HVAC blower housing, turning a quick swap into a cramped kick-panel operation.
The second-generation Ford EcoSport hides its cabin air filter in the HVAC blower motor housing behind the center console kick panel, rather than the glove box. Access starts by prying a small round plastic cover, removing a bolt with a 10-millimeter socket, and pulling open the front edge of the passenger-side kick panel to reveal a filter slot held by multiple screws. The OEM Motorcraft FP-69 filter must be oriented with the airflow arrow pointing toward the rear of the SUV—easy to reverse in the tight footwell with wiring in the way. DIY guides recommend a flat-head screwdriver, socket, and ratchet, but note the cramped location and fastener count make the job more time-consuming than typical glove-box designs that take five minutes.
6. 2019 Ford Escape Heater Core Service

The Escape integrates the heater core deep within the dashboard, transforming a basic repair into a multi-hour teardown.
Earlier vehicles mounted heater cores under the passenger-side dash with a few fasteners, but the 2019 Ford Escape integrates the HVAC box tightly with the dash structure. Replacing the heater core requires removing multiple trims, the glove box, center console pieces, and sometimes steering-column or kick panels—a job that can run into four-figure repair costs compared with a few hundred dollars on older, more accessible layouts. Ford service documentation confirms the labor-intensive process, and technicians frequently cite it as an example of cost-driven assembly design that makes once-routine repairs impractical for typical DIY owners and budget-busting for everyone else.
7. Ford Bronco Oil Filter Service Constraints

Underbody protection and cartridge-style filters turn quick oil changes into skid-plate wrestling matches on the modern Bronco.
The 2021-and-later Ford Bronco offers 2.3-liter and 2.7-liter EcoBoost engines that use cartridge-style oil filters placed low in the engine bay, sometimes near exhaust components. Underbody bash plates and skid shields require removing multiple fasteners to reach the oil filter and drain plug, adding labor and complexity compared with older body-on-frame trucks with exposed service points. Long-interval synthetic schedules and turbocharging make proper filtration critical to engine longevity, but the Bronco’s underbody protection (designed for off-road durability) complicates clean driveway maintenance and stretches a twenty-minute oil change into an hour-long ordeal.
8. Ford F-150 5.0-Liter Oil Pan and Drain Plug
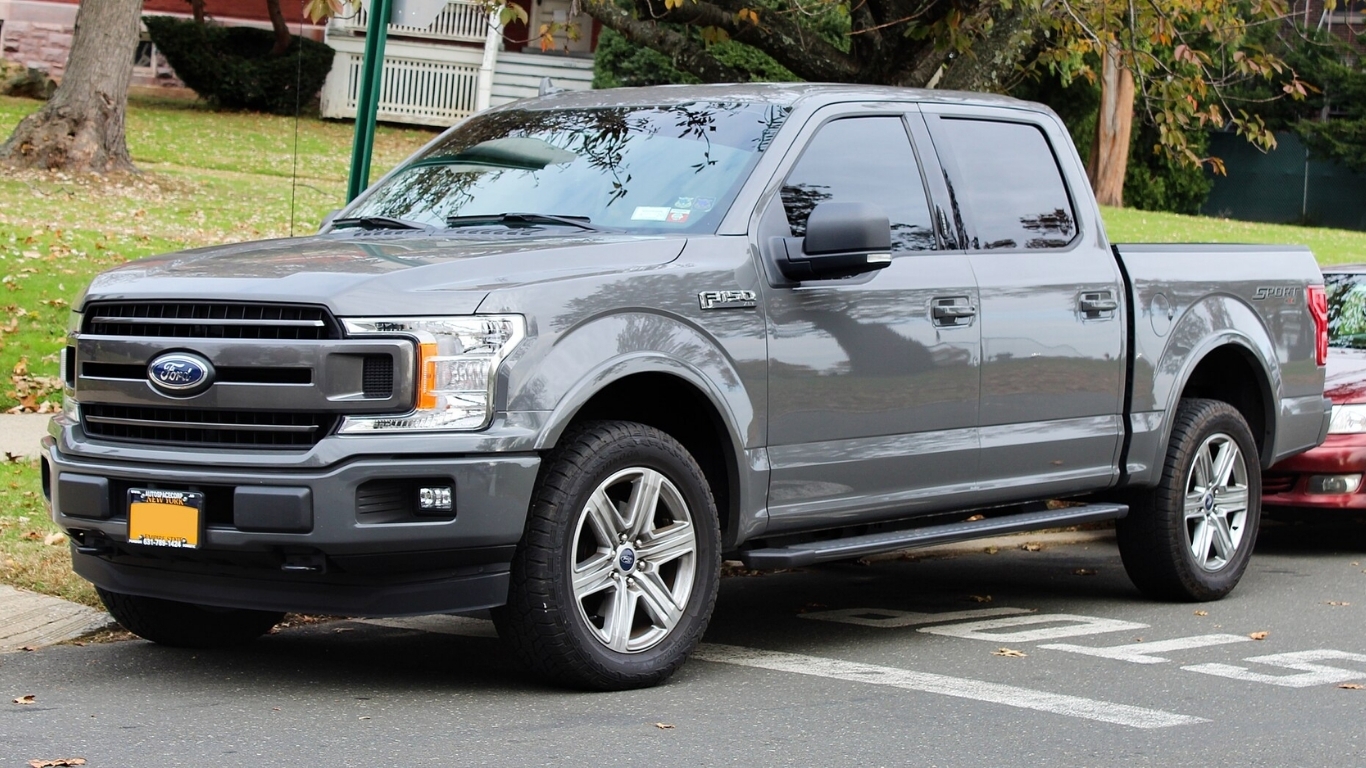
Plastic oil pans, reusable drain plugs, and sway-bar interference make F-150 oil changes messier and more stressful than they need to be.
Late-model Ford F-150s with the 5.0-liter V8 use a molded plastic engine oil pan and a plastic, reusable drain plug that seals via an O-ring rather than a crush washer. The plastic pan reduces weight and manufacturing cost, but technicians note concerns about long-term durability, potential warping from heat cycles, and susceptibility to damage from impacts and over-tightening. On some configurations, the front sway bar runs directly under the drain area—when the plug is removed, the oil stream strikes the bar and scatters, requiring an oversized catch pan or shop lift to manage the flow. The reusable plastic drain plug is designed for multiple reinstalls with only the O-ring needing replacement, but critics argue it has limited threads and feels less secure than conventional metal plugs, especially on a truck marketed for heavy-duty work.
9. Ford 3.5-Liter Cyclone V6 Water Pump Failure
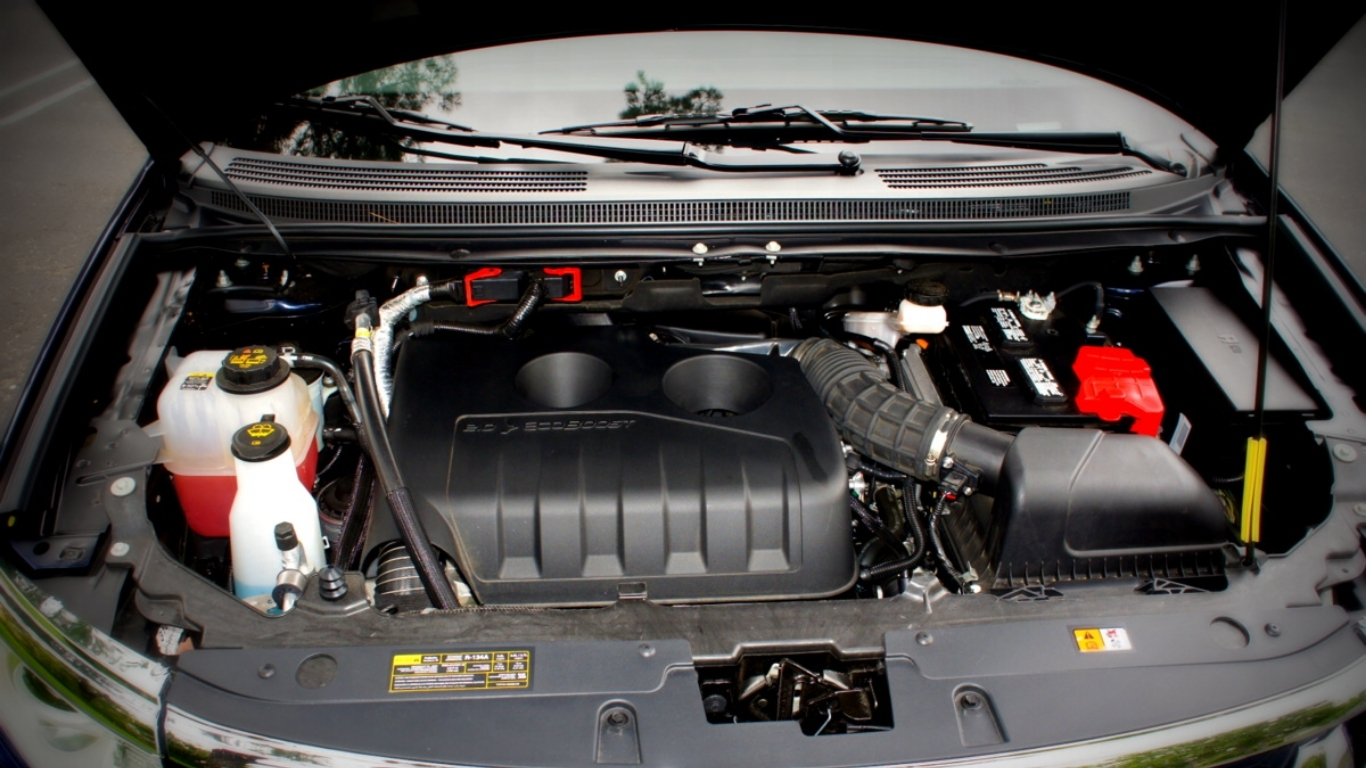
The timing-chain-driven water pump in Ford’s 3.5 Cyclone V6 sits behind the front cover, turning a basic coolant leak into a $2,000-plus teardown.
The 3.5-liter Cyclone V6—found in the Ford Edge, Taurus, Flex, Explorer, and Lincoln MKS, MKT, and MKX—locates the water pump behind the front timing cover, driven off the timing chain rather than bolted externally. The pump uses an internal weep hole that vents through the block behind the alternator; if that passage clogs with oil, dirt, or debris, coolant backs up and leaks into the engine oil, creating the “chocolate milk” mixture that causes catastrophic bearing damage. Replacing the pump requires removing valve covers, the front timing cover, and timing chains—major engine disassembly that runs $2,000-plus at independent shops and often more at dealers. Failures commonly surface around 100,000 miles, and early pumps with plastic impellers could fragment and send debris through the cooling system. Updated replacement pumps use metal impellers for improved durability, but the design remains widely criticized as a “ticking time bomb” that transforms what was historically a simple external water-pump replacement into an engine-teardown event and strongly discourages DIY repair.